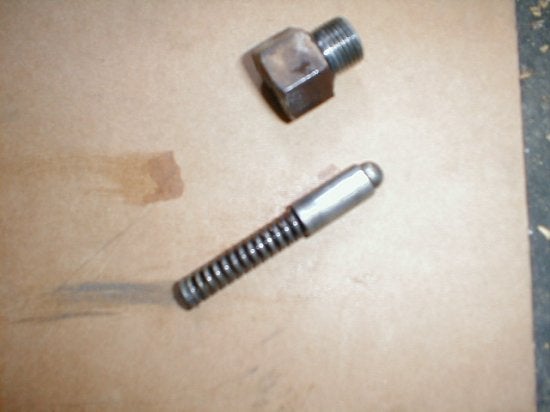
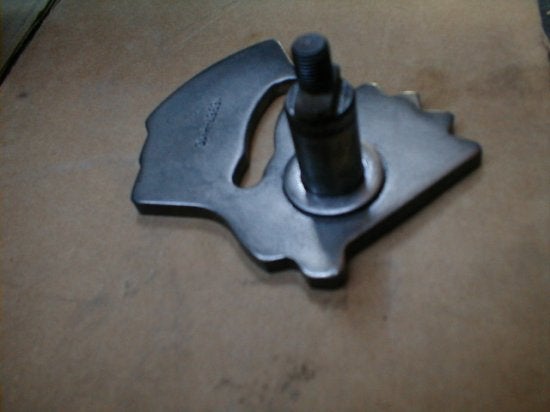
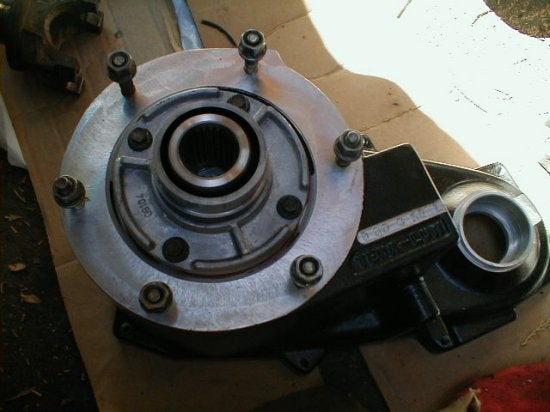
The first step is to remove the old shift lever linkage and brackets and install them in the new provided housing. This includes the shift fork, spring, etc. This was a fairly easy and self explanatory process if you just remove one piece from the old case and place it in the new housing. See pictures below for more details.

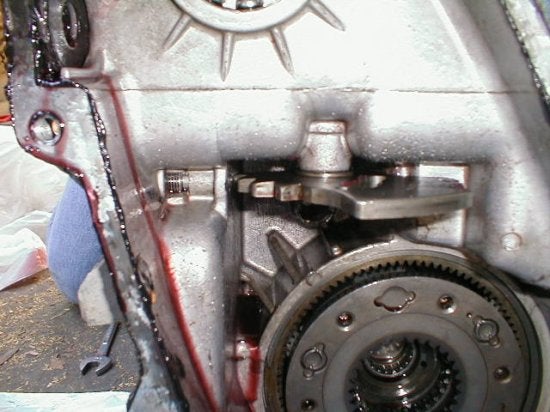
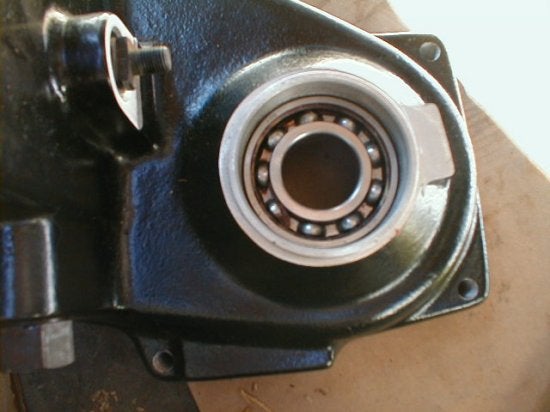
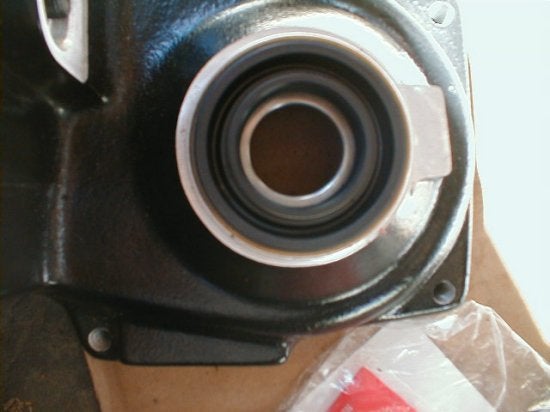
Luckily, my transfer case was recently rebuilt so I didn't bother with either of these. I went ahead and removed the old bearing by hitting it out using a rubber mallet. The kit comes with a new seal so don't worry about it if you mess the old one up. I couldn't get the old seal off without basically destroying it. Again use the rubber mallet to install the bearing into the new front half of the case. Be sure that the bearing is pressed entirely into the case. Next, I placed the C-clip bearing retainer into position. Using the supplied bearing seal, place the new seal into the case. Using the rubber mallet tap the sides of the seal in a circular motion around the edge. Check pictures below for more details.
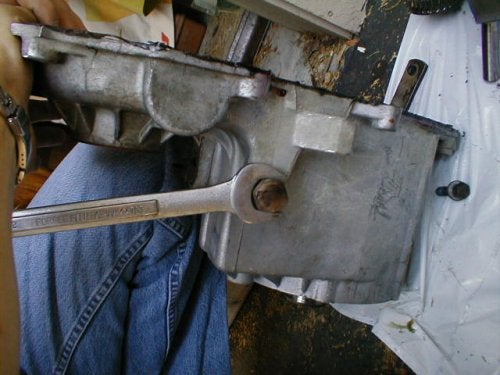
Now that the new housing supplied by Tera Flex is complete and ready, I started to put the two pieces (front & rear casing) back together. Simply line up the main input shaft and slide the two cases together. A little maneuvering might be required to get all the gears lined up perfectly. Before sealing the two case together, run a nice bead of sealant along the edge of the casing. Make sure you use the correct sealant for the job, otherwise leakage may occur. After running the bead of sealant on the edge of the case, go ahead and push the two casings together. They should line up perfectly without any problems. From here I installed the original bolts that seal the case together. NOTE: When installing these bolts, be sure not to tighten one side more than the other at one time. Check pictures below.
|
Off-Road.com Newsletter Join our Weekly Newsletter to get the latest off-road news, reviews, events, and alerts! |
Follow @Off-Road
 Your Privacy Choices