Rebuilding an automatic transmission is a daunting endeavor for an inexperienced transmission mechanic. To the untrained eye, automatic transmissions can appear to be a little more than a jumbled mess of parts inside a cast metal housing. Even technicians who’ve been building motors, rebuilding gearsets, or rebuilding manual transmissions for many years may be intimidated by the thought of tackling a slushbox on their own. Going into the disassembly of this transmission I wavering on whether I wanted to try to execute this on my own. After removing the majority of the components from the case I decided to go ahead and take it to the professionals. I did, however, get together a multitude of photos along the disassembly path to give you an idea of the number of components that make up the transmission.
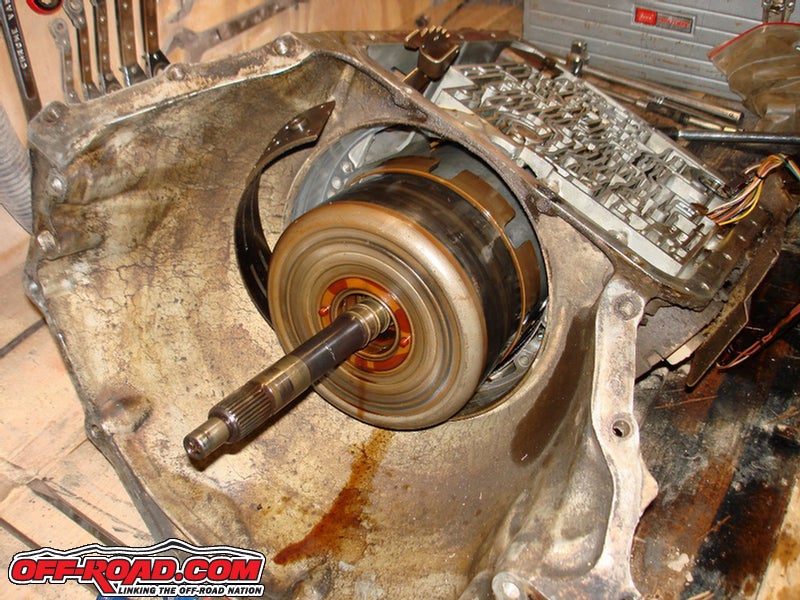
First I removed the torque converter by simply sliding it off the end of the input shaft. Be ready with some paper towels since the torque converter will be filled with oil.
|
Removing the metal ring that clips onto the pump housing will expose the seal, in this case blue, that I removed next.
|
In order to remove the seal I carefully bent the outsides of it away from the inner wall of the pump till it was free to wobble out.
|
The pump slid out of the tranny housing by simply using a flat head to pry it gently from the top.
|
With the pump removed I was able to slide the majority of the internal components out from the inside of the transmission.
|
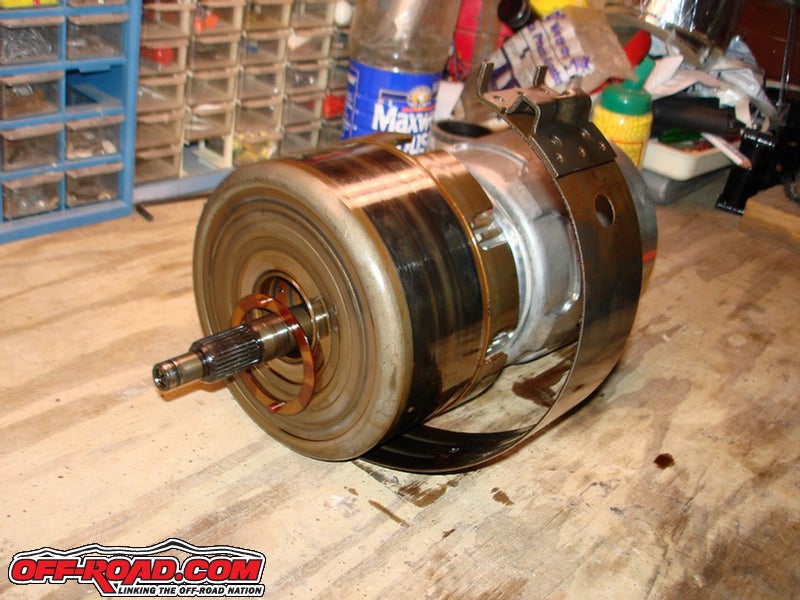
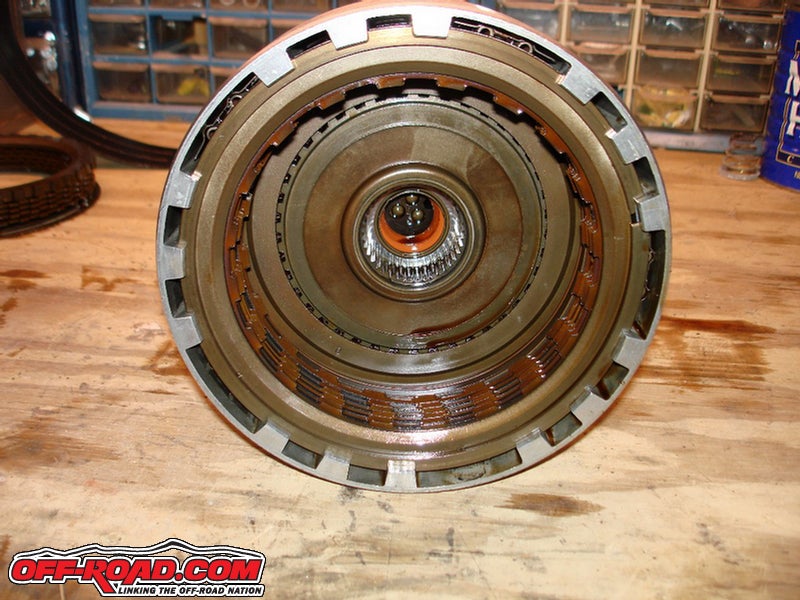
Here is what the first section of the components look like. From the outside it doesn?t look too complicated but inside of these housings contain a whole assortment of parts.
|
The two drums easily split apart from each other so they can be disassembled seperately.
|
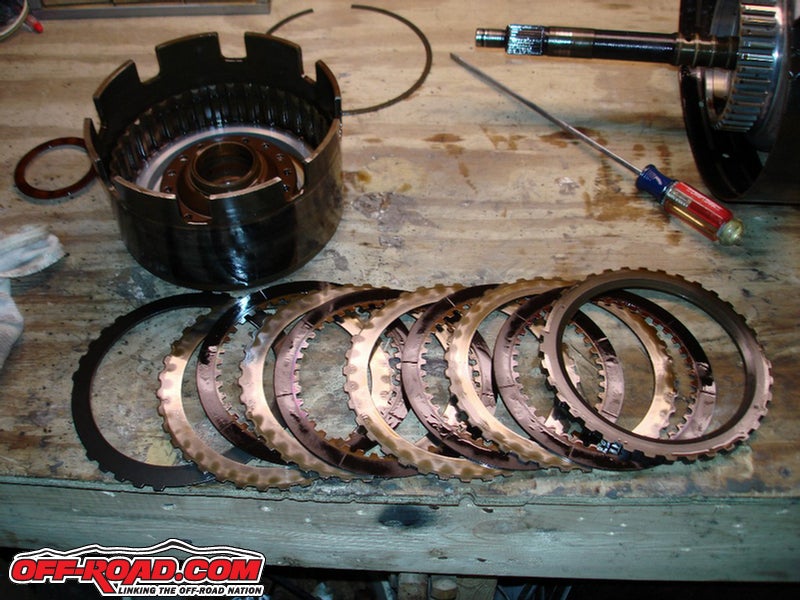
I used a flathead screwdriver to remove the metal retaining clip from the first drum. This allowed me to pull out the plates and clutches. If you plan on reassembling this yourself be sure to note the order by which these pieces went together.
|
With the plates all pulled out I laid them out onto the table where I took a picture to help remember their order.
|
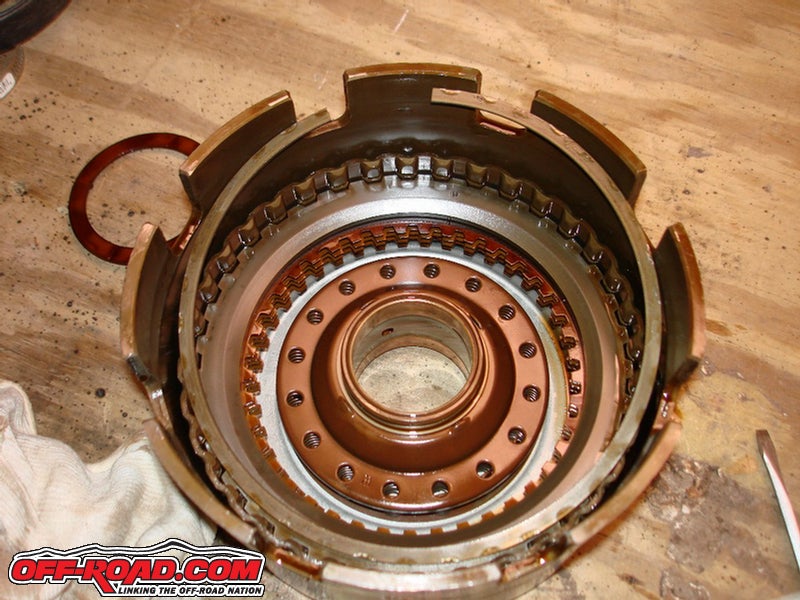
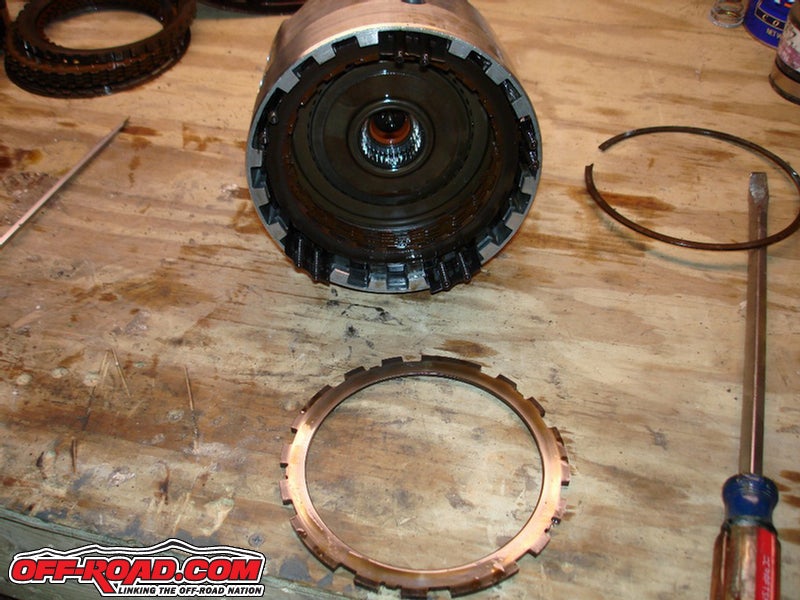
The second drum also contains a retaining ring which must be removed before sliding out the plates and clutches.
|
After removing the retaining ring and the first plate you?ll notice that there are 5 sets of springs that slide down the outside channels of the housing.
|
With all the plates and clutches removed from the drums you will notice a smaller round piece that is being held in with another smaller retaining ring. It is being pushed into place by a number of heavy duty springs. Both drums contain this. Unfortunately, in order to remove it I'd need a special spring compression tool so I'll leave it alone for now.
|
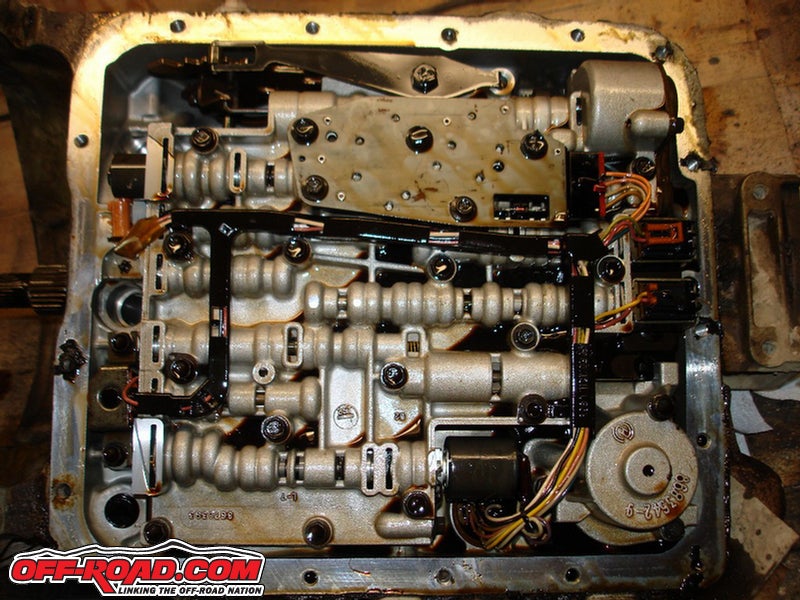
Next I moved on to the underside of the transmission inside of where the oil pan would mount. You will notice a ton of bolts holding the valve body housing into place as well as a number of wire connectors. Over the years, the plastic channel holding the wires get brittle from being heated and cooled, so drastically, so many times.
You can bet on having to buy a new harness as the channel will inevitably break in removal.
|
Pulling of the valve body assembly exposes a thin metal plate that covers the oil channels on the transmission housing.
|
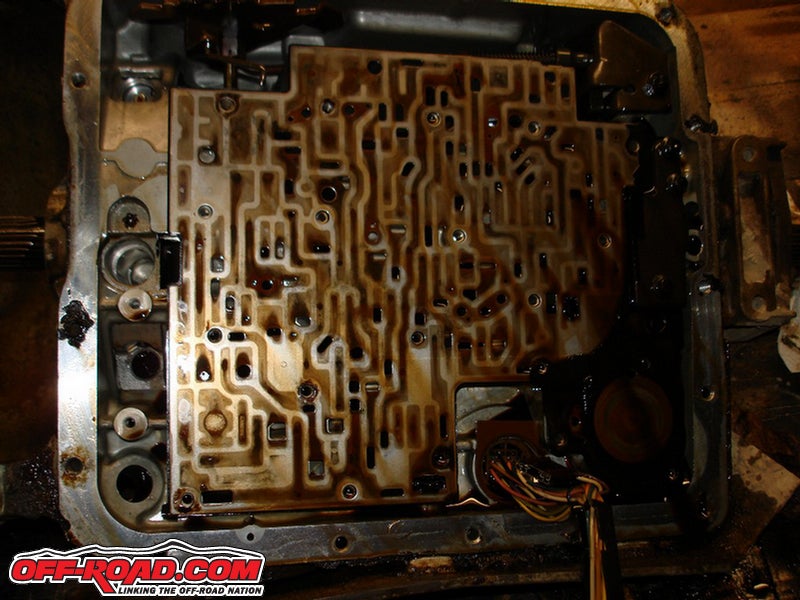
With the thin metal plate removed you can now see the channels on the tranny housing.
|
After I pulled the valve body away from the transmission housing I heard several small objects, which turned out to be little metal balls, fall out onto the workbench. There were around five or ten of them. You could tell they belonged in the oil channels on the underside of the valve body. After trying in vain to decipher which channel each ball belonged in I decided to call the professionals over at AAMCO Transmissions to finish the rebuild. After disassembling 90% of the transmission I decided that there was going to be just too many chances for me to make even the slightest mistake. The last thing I wanted was to go through all the work of reinstalling the transmission just to have it not work.
It is well worth the money to get the professionals involved and will give you a great deal of relief knowing that you’re not going to mess anything up.
The tranny is now in the shop and will be ready to go soon. When I get this back in the next week or so, I will assemble a final article over the install.
Feel free to use the blog function at the bottom of the page to ask any questions about details I may have missed. Stay tuned for the third and final article in our GM tranny rebuild series. Only @ Off-Road.com!
|


 Your Privacy Choices