Our Lexus GX 470 is coming along nicely, and it’s time to focus on improving approach and departure angles and getting some of the stock plastic off of our new trail rig.
We kicked things off with the build by updating the front suspension with new 2.5-inch coilover shocks from Icon Vehicle Dynamics featuring their adjustable CDCV damping adjustability and added new Icon upper control arms to accommodate the additional travel and lift from the new shocks. In the rear, we deleted the air bags and replaced them with 3-inch springs from Icon, which are held in place by a spring retainer kit from Metal Tech 4×4; we also added new adjustable upper and lower trailing arms from Icon and replaced the rear shocks with 2.5-inch rear shocks from Icon that also feature a CDCV knob for damping adjustment.
Our most recent story was the installation of OPOR sliders from Metal Tech 4×4, which offer rocker panel protection for our GX while also replacing the plastic stock pieces that are prone to trail damage, don’t offer much protection and actually limit clearance.
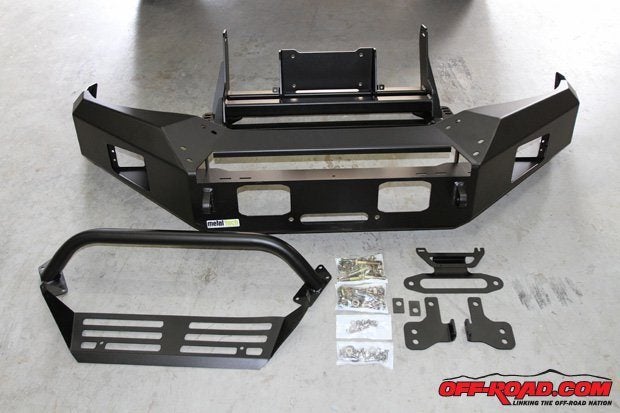
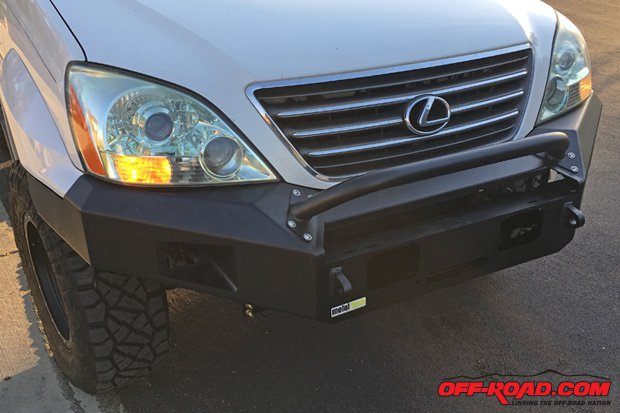
The Metal Tech 4×4 Goblin front bumper includes the bumper, frame mount, optional bull guard and optional lower guard. The Goblin kit can also accommodate most planetary winches on the market.
For our next story we are installing Metal Tech 4×4’s Goblin front bumper. We were initially drawn to the company because of this exact bumper, as the clean lines of this bolt-on piece require no cutting of the GX 470’s body to install, and, of course, it also looked really good on a GX we saw on the trail. Metal Tech 4×4 says this bumper is 100 percent built in 3D CAD from scans of the truck to ensure the tightest fit. The bumper itself also features five different thicknesses in its steel construction to ensure it is strong where needed while saving weight where it’s not.
The Goblin front bumper features two integrated LED light pods sections, with optional 20w LED lights available. The center features a pocket for an additional 25-inch LED single-row light bar. The bumper is also ready to accept most planetary-style winches, as the winch installs beneath the bumper shell so it is almost entirely covered, and it also means the winch isn’t weighted on the bumper itself thanks to the two-piece design.
The installation for the bumper should take roughly 3-4 hours, and it will fit Lexus GX 470 models from 2003 to 2009. Follow along with our installation below.
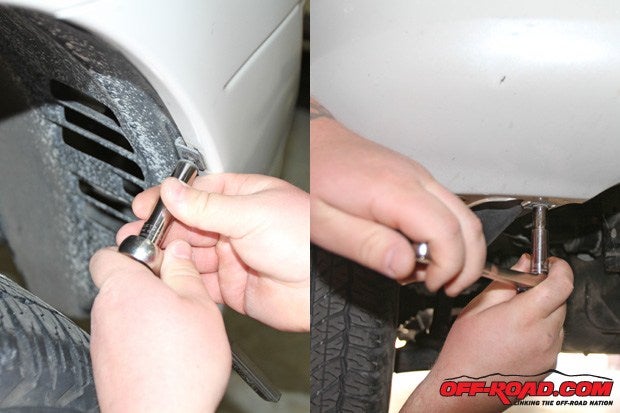
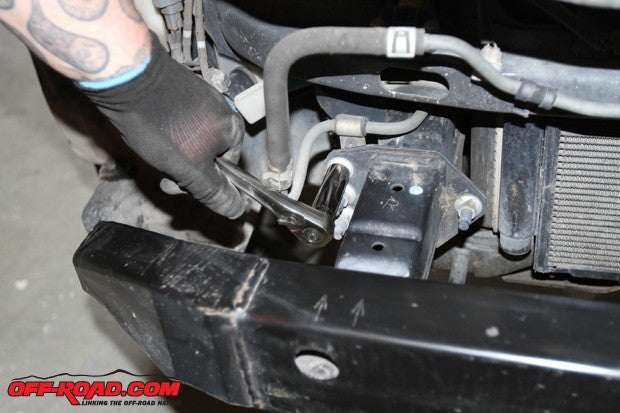
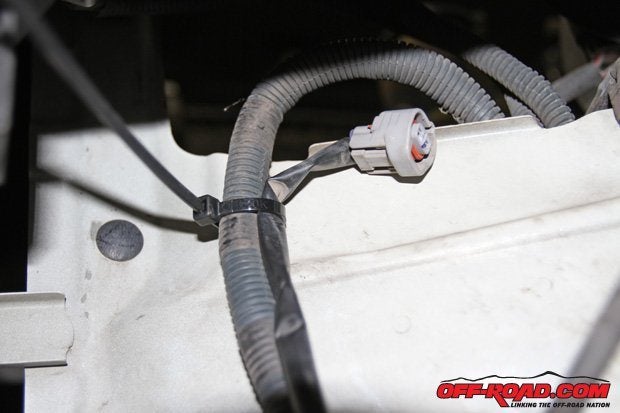
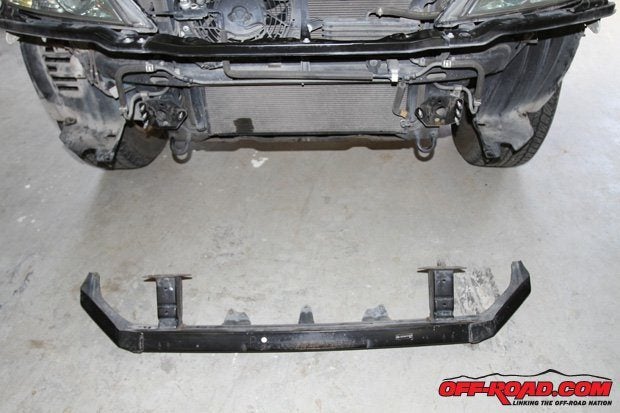
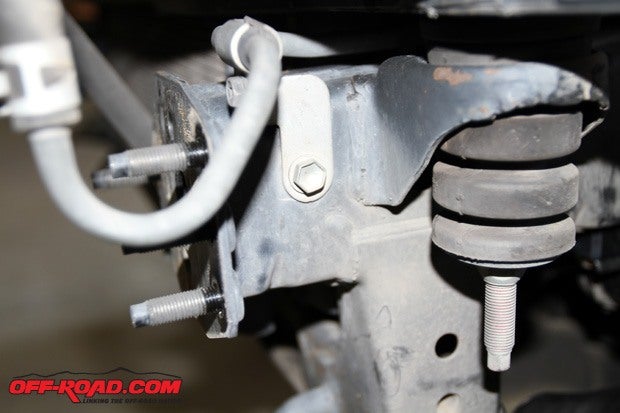
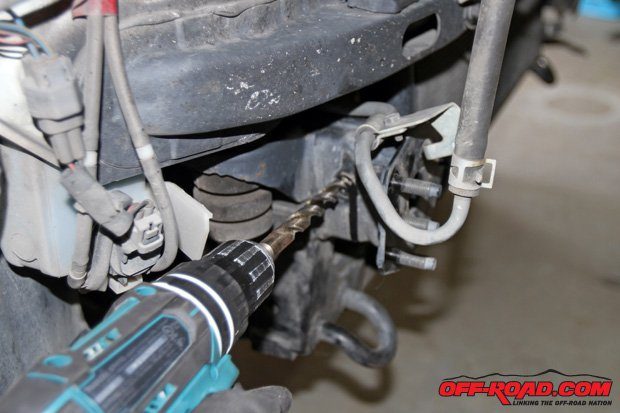
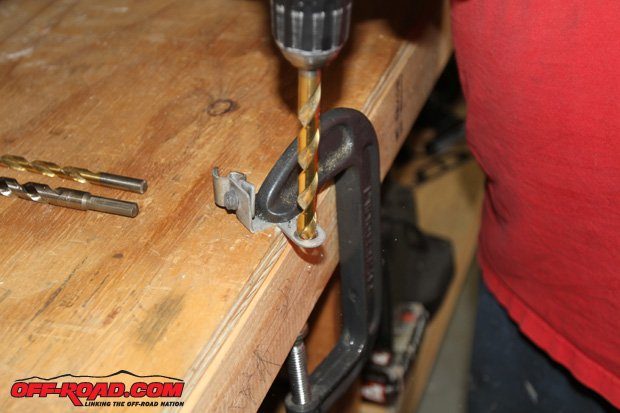
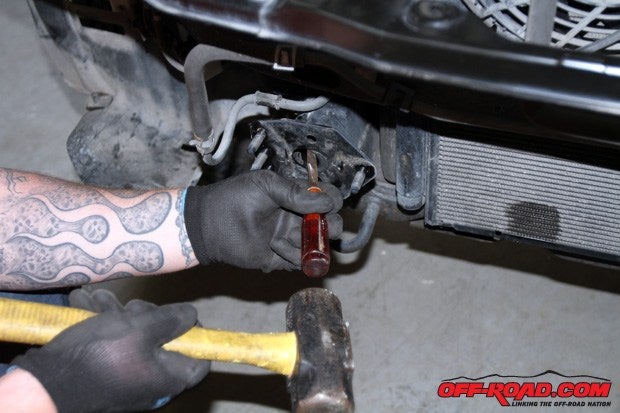
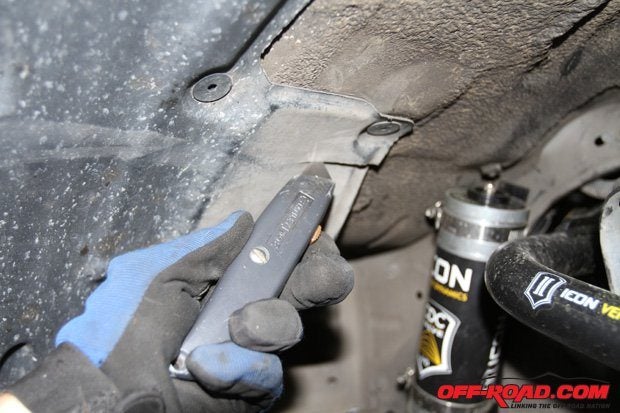
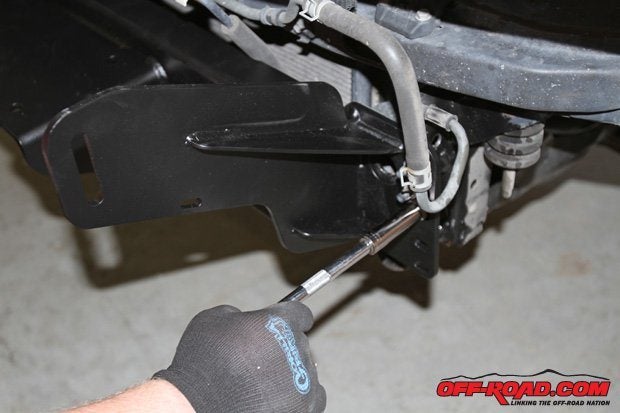
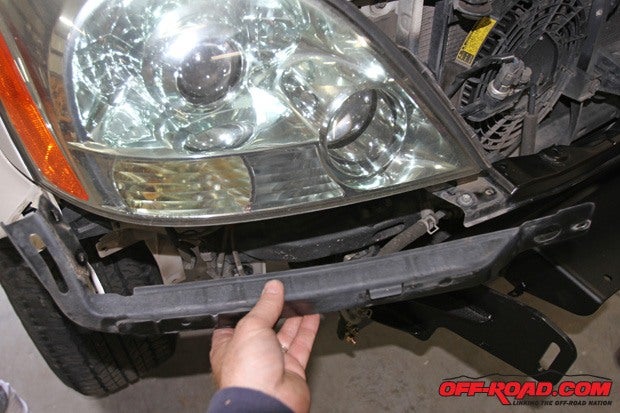
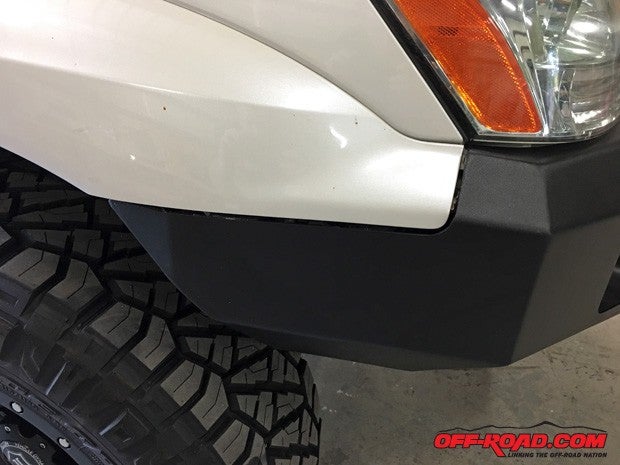
After popping the hood and removing the plastic covers in the engine compartment (including the radiator cover), begin by removing the stock bolts that secure the stock bumper in place. There are two 10mm bolts per wheel and there are five more beneath the bumper attached to the radiator skid plate. Don’t forget there are also plastic pop-up rivets to remove on each side as well.Once all of the bolts and plastic rivets are removed, pull off the front bumper. Keep in mind that you’ll need to disconnect the fog lamp wiring connections prior to removal.The stock crash bar needs to be removed, and it may require a breaker bar and deep socket to loosen the bolts.At this point we decided to secure the fog lamp wiring harnesses that we unclipped from the front bumper in the event we want or need to access the power source down the road.The stock crash bar is removed and will be replaced with a new unit from Metal Tech 4×4.The radiator hose bracket needs to be removed with a 10mm socket.Once the line brackets are removed from both sides, the stock hole needs to be drilled out with a 1/2-inch bit.Along with the stock hole, the line brackets will need to be drilled out to the larger size as well.Using a chisel or a flat screwdriver, clear off the remaining debris around the hole to accept the new parts.For esthetic purposes we trimmed the wheel well liner to match the lines of the new bumper.The new winch mount of the Metal Tech 4×4 bumper replaces the stock crash bar and will help support the new Goblin bumper. This is the time to install a winch if you plan to add one (you can also add it later by removing the bumper shell).Next the bumper reinforcement brackets need to be installed on each side of the winch mount. The top of the mount is held in place using the grade 8 bolt, washers and lock washers included with the kit. The trickiest part of this step is getting both the washer and nut inside the frame to secure the bolt. We used a magnet to get the washer on the bolt and a closed wrench with tape to get the nut to begin threading on the bolt. Be patient, this will take a few tries.The brackets that sit just below the factory headlights need to be removed. There is a bracket on each side of the radiator, and they separate on each side from the radiator centerpiece. You’ll want to retain the radiator bracket itself but just remove the pieces on each side.Prior to installing the bumper itself, make sure to attach all of the accessories, like the bull bar. The bumper shell can be fit into place now, and this is where you’ll want an extra set of hands to massage the shell into place. Once the shell is snugly in place, secure the two top and bottom bolts on each side of the mount finger tight. As you’ll notice there’s another bolt whole exposed, though there’s not a hole drilled, Check the fitment of the shell and then tighten the two bolts in place on both side and then use a silver Sharpe or other marker to mark the third hole opening, remove the bumper shell and drill out this hole. This third hole will help secure the bumper shell in place.Part of what makes the Metal Tech 4×4 Goblin front bumper so great is how closely it follows the natural lines of the GX. Whereas some bumpers require cutting or trimming of the body, the Metal Tech 4×4 simply complements the GX’s styling.The Metal Tech 4×4 Goblin front bumper looks great on our Lexus GX 470, and we look forward to getting the rear Pegasus bumper installed soon!
We are committed to finding, researching, and recommending the best products. We earn commissions from purchases you make using the retail links in our product reviews. Learn more about how this works.