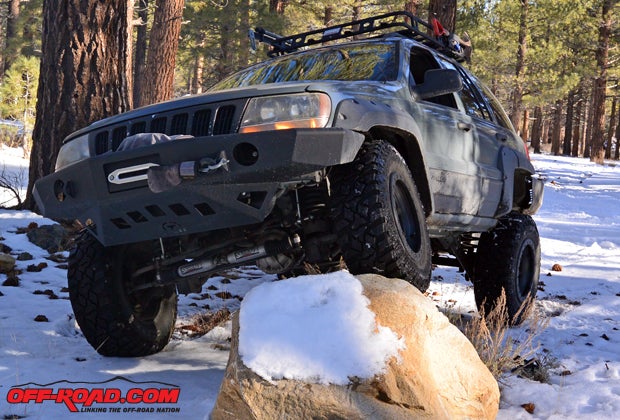
If you own a Jeep or a vehicle with a solid front axle with a lift of three inches or more (like our Jeep WJ) you probably need a little help centering your axle. A quick and relatively easy way to address this is to add a heavy-duty track bar in place of the stock unit. We chose a track bar from Rough Country for our needs, since the heavy-duty construction should hold up nicely for off-road use and the added strain put on the steering with the oversized 33-inch tires.
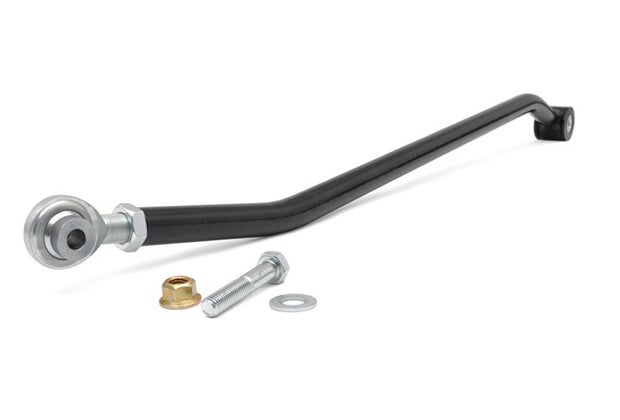
We opted for the Rough Country track bar because it has a 1" outside diameter tubing along with a 0.28 thick wall for durability. The track bar also features a heim joint at one end that is adjustable to allow us to properly center the front axle. Not only is this track bar going to help center the WJ's front axle, but it should also help with steering on the trail, especially when flexing our BDS 4-inch lift and 33-inch tires. The Rough Country also uses a more heavy-duty urethane bushing (versus the worn-out rubber bushing on the stock unit), which means less slop in the steering and suspension on the road and the trail.


A quick way of checking axle alignment is to grab two jack stands and some twine. With the Jeep parked on a flat surface, tie the twine to each stand and make it long enough that you are able to go all the way around the front and back of the tires on one side.

Once you have done this center the twine as close as possible on both the front and back axles at the center of each wheel, making sure the twine is somewhat snug. The twine should touch both the sidewall of both the front and back of the tire. Then do the same on the other side. If your axle is out of alignment, you should see that the string will not touch the sidewall of one of your tires and in turn, it should be just the opposite on the other side of the vehicle.
Some people use a measuring tape to measure how far a tire sticks out on one side of vehicles fenders versus the other side of the fenders, but in our case we have done enough wheeling that fenders are not perfectly straight anymore, so that method is not the best choice for us. Unless your have a new rig or have never damaged or modified your fenders, then a measuring tape could get you close.
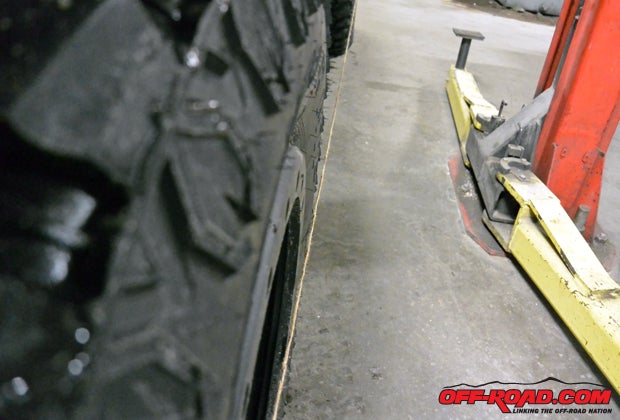
You can see that there is a gap on the inside of one of the front tires. We checked the other side and saw just the opposite results, so were pretty confident that our front axle just needs to be centered. Thanks to Rough Country's adjustable track bar we can easily take care of that.
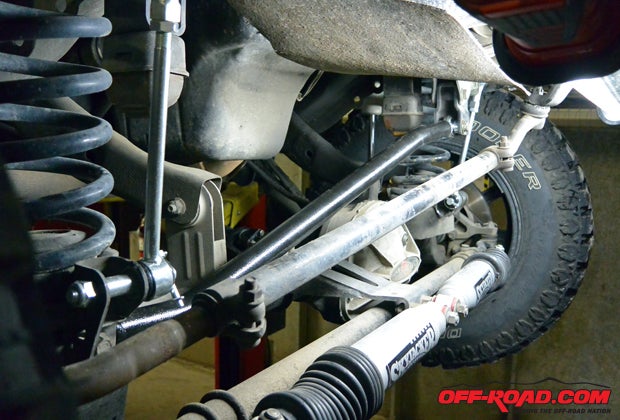
Now that we know what direction we need to go with our axle we are ready to replace the front track bar. The installation is fairly straightforward from this point, with the job consisting of removing the bolts and adjusting the new bar accordingly to center the axle properly.
Here is a list of the tools we used for the job:
- 1 1/8" wrench
- Ratchet
- 19mm wrench
- 15mm socket
- 14mm socket
- Measuring tape
- Ratchet strap
- Jack stands (2)
- Spool of twine

#

Next, we measured our new track bar to about the same length as are old one. If youre asking, Why the same length as the old one? Since the new bar doesn't have the old, sloppy worn-out bushings we planed to install it at the same as stock and then do a lap around the Jeep to recheck the axles alignment. Since our axle is close to being straight we might be good or even need to go the other way for adjustment. Installation is just the opposite of removal.


After feeling good about the axle placement we took the WJ for a spin. We were surprised how much of an immediate impact the addition had our steering. The steering wheel was previously a little loose and our wheel was not the quickest to respond, and now it feels tighter and is far more responsive.
With the Rough Country Track bar coming in at a price tag of about $130 its a worthwhile upgrade for the time and little money spent. The install took about an hour and is pretty straightforward thanks to the instructions from Rough Country. More or less weight in your vehicle can change the angles of your suspension or ride height, and this is where an adjustable track bar can really help dial in your rigs suspension.
SOURCE
Rough Country
800/222-7023
www.RoughCountry.com
|
Off-Road.com Newsletter Join our Weekly Newsletter to get the latest off-road news, reviews, events, and alerts! |
Follow @Off-Road
 Your Privacy Choices