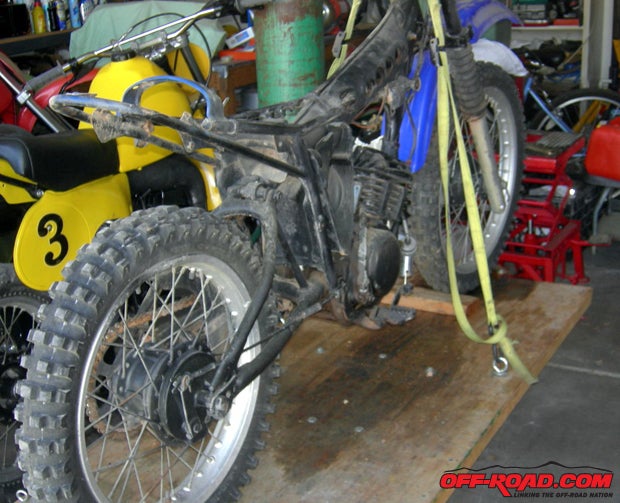
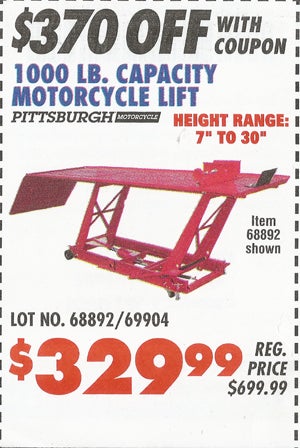
Have you ever really wanted a genuine working bike bench? Of course you have, but when you look at the prices, you some may have second thoughts. Just about the best price we’ve seen on a real bike bench is from Harbor Freight, and that’s $329 plus tax on sale and over $500 when not on sale. Also, the bench we’re talking about is very heavy and takes up a lot of room in the garage.
The kind of bench we really want is something that is there when you need it, doesn’t take up a whole lot of room, and you can get it for 100 bucks or so. This means that you’re going to have to do a little bit of work yourself to make it all happen. Here’s what we did to make ours.
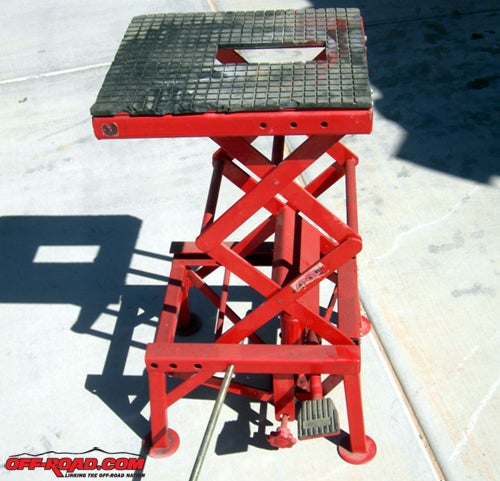
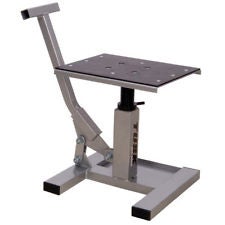
After a bit of shopping around we found a bike stand that was adjustable from 7 to 30 inches, which is just about right for almost anything you need. The only thing was that it was a small stand that fit just underneath the motor and left everything hanging in the breeze. What we wanted was a real stand you could roll the bike on, get the height where you wanted to work, and still be able to put tools on the bench to use as a work area.
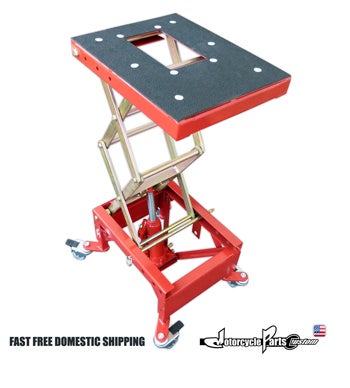
We started with Atlas work stand, which we got for about $100, shipping included. The stand is strong, adjustable, and had a good safety lock bar that we put in to keep it stable. To make this into a real work stand, we simply added a wooden work base area. This was done by drilling six holes through the wood and the metal top of the stand. Very large washers were used on the wood to keep the bolts from ovaling out the holes.
The piece of wood we use for the base was 1/2-inch-thick plywood, 30 inches wide and 70 inches long. This seemed just about ideal for dirt bikes of most any size. To keep the wood from flexing, we used 1” x 2” wood along the edges to stiffen up the base.
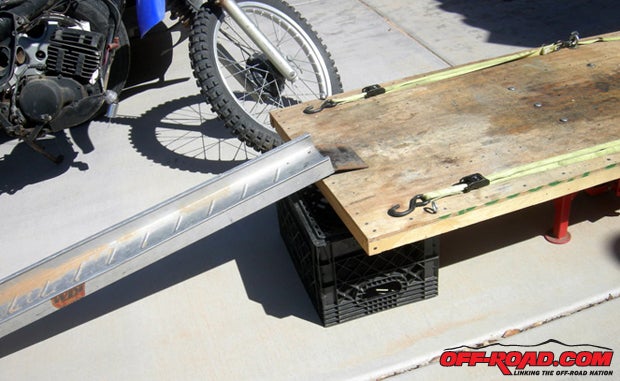
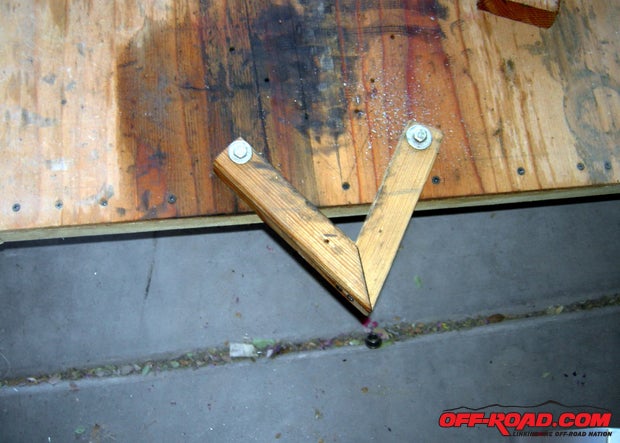
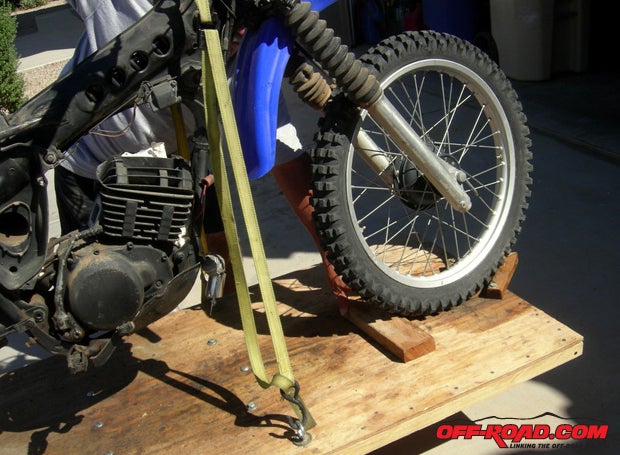
At 27 inches back from the front, we put in a pair of eyebolts in the base to use for tie-downs. This position was chosen after a bit of experimenting. You’ll notice that we also put a small piece of wood at the front in a V-section to hold the tire. This gave us a bit more room and also gave it a place for the front tire to center and grab.
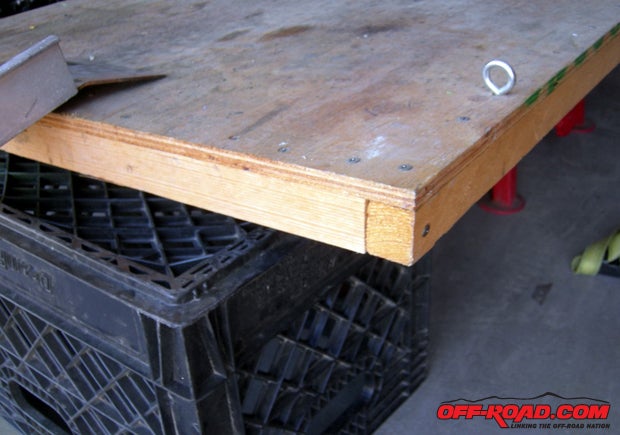
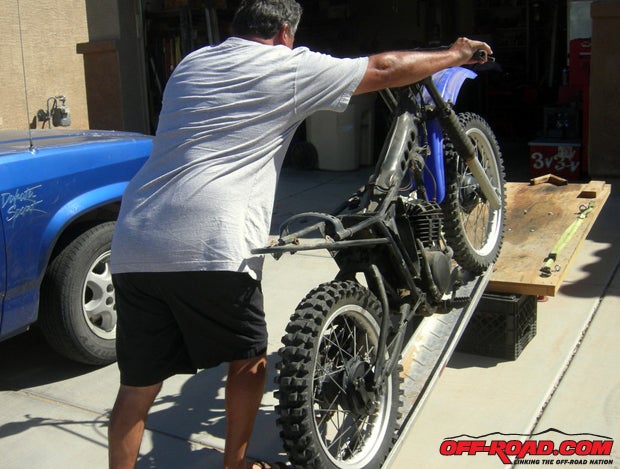
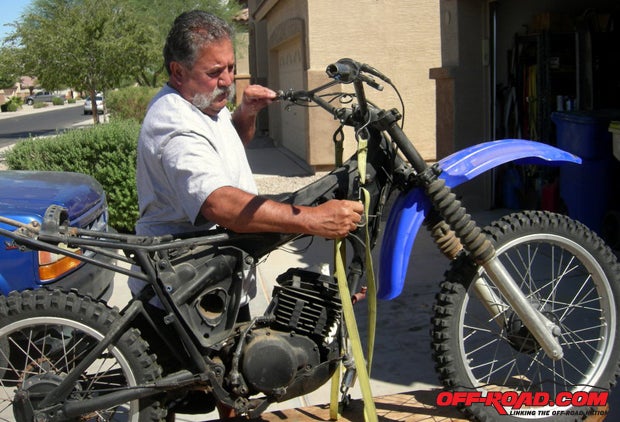
Once this was all put together, we ended up with a solid, strong workbench. In the low position, it was very easy to roll a bike up a loading ramp onto the work area. We used a regular milk crate right underneath the bottom edge to keep the workbench from tilting when loading. Once we got everything in position and the bike tied down, we were then able to pump on the adjuster on the bottom and get to the desired working height. At that point, we then slipped the safety into place.
Working on the bike like this was very easy, and having all those tools out in your work area is pretty darn nice. In fact, we’ve gotten to the point we use the bench for storage for the bike most commonly used at the time.
Total cost for the entire workbench came to a little over $100, because we had scrap wood around the garage.


 Your Privacy Choices