|
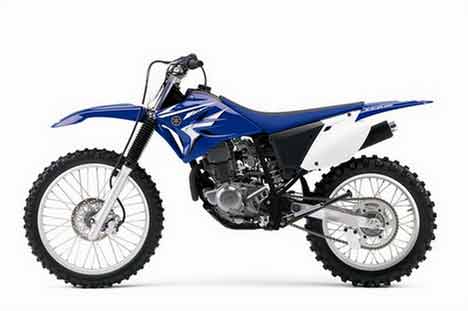
So far, we’ve changed the gearing on our TTR 230 and we’re markedly impressed with the improvement. Now the project is ready for big stuff. When we uncorked the Honda counterpart, we were surprised with the nice gain in power. Will the Yamaha respond as well?
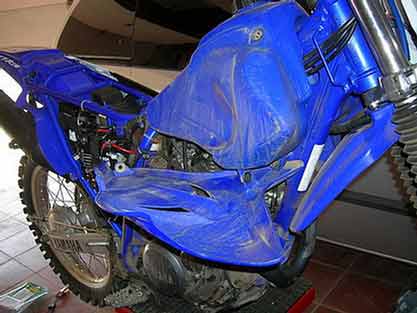
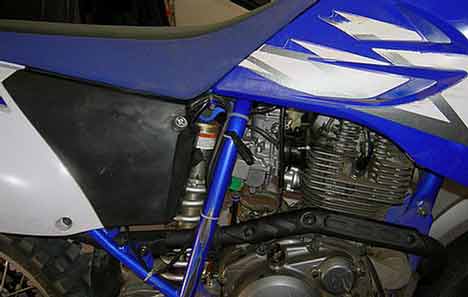
The task was a bit more complex than the Honda. First we removed the saddle, tank and side panels. Then the air filter and backfire screen were removed. At that point, the carb was taken off, after disconnecting the cables and the fuel line. You can follow along with the photos/captions for exactly how this is done.
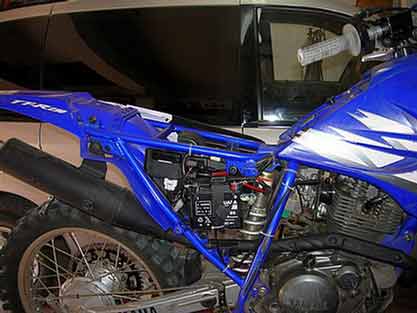
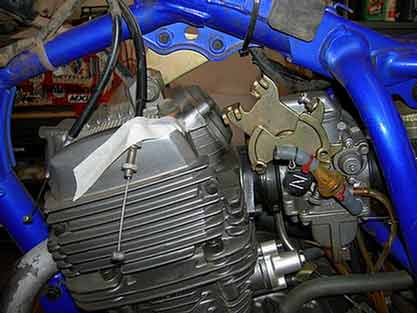
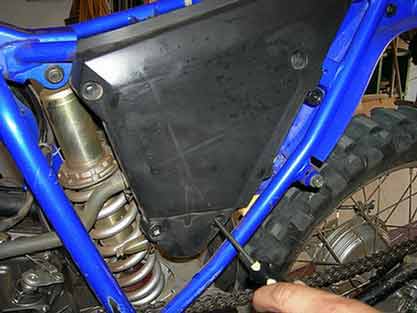
It's a lot easier to get to everything if you take the side panels off.
 |
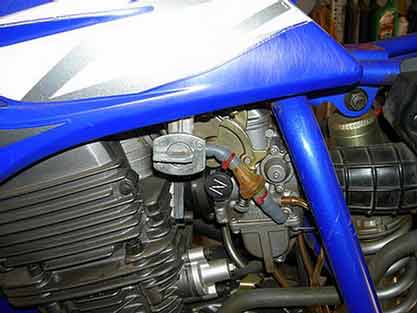
Now you can dig right in and get to the heart of things.
 |
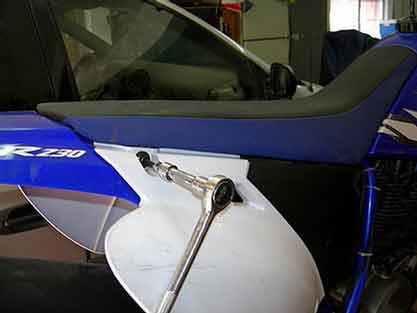
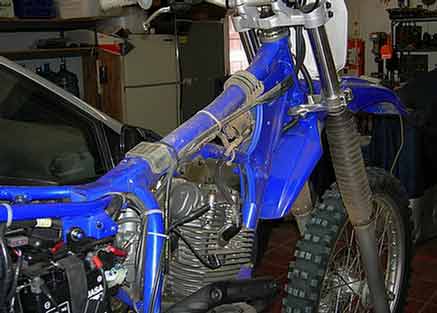
To take the tank off, first remove the saddle then take the rubber strap loose.
 |
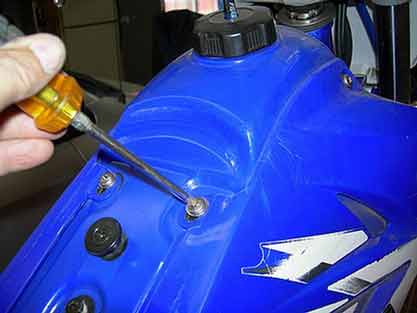
To remove the tank shrouds, you have to first take the tank screws out.
 |
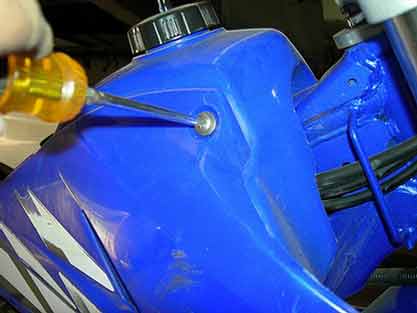
Then remove the side screws.
 |
You can remove the shrouds,
making it easier to unbolt the tank, or leave them on.
 |
With the shroud down, you can easily get to the mounting bolts.
 |
Or you can leave the shrouds on and work the bolts out. Your choice.
 |
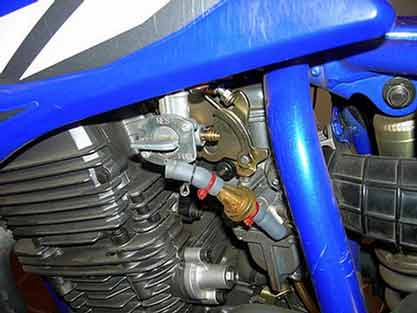
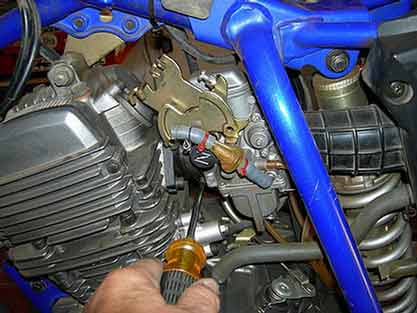
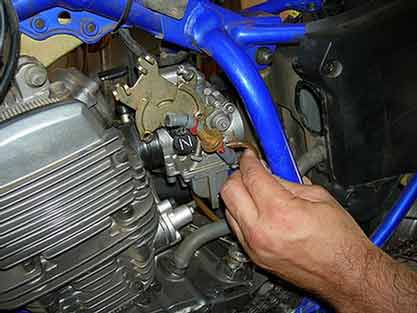
You have to take the carb off. Make sure the gas is turned off.
 |
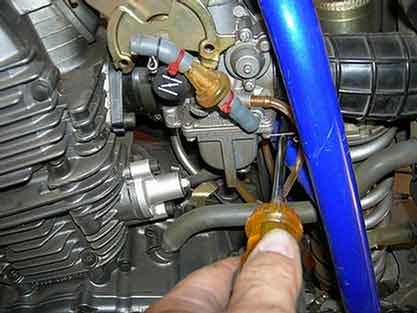
A small flat bladed screwdriver gets the fuel line off.
 |
Now the tank can be removed.
 |
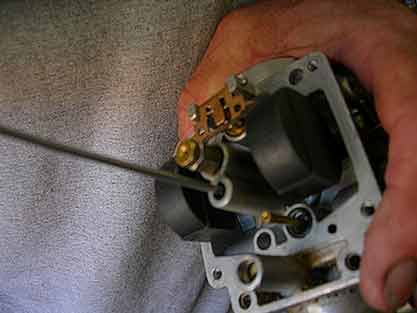
Both throttle cables have to be detached. Back off the lock nut first.
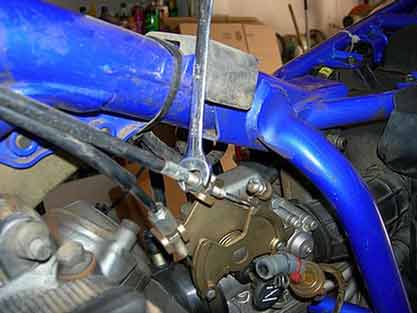 |
Then the cable can be lifted free.
 |
The top cable is now free.
 |
Repeat the process with the second cable.
 |
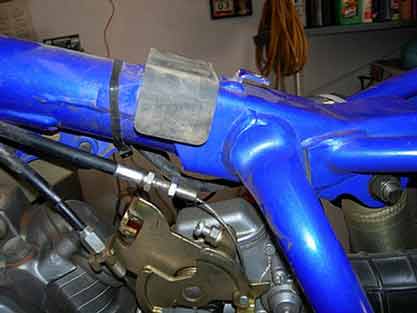
It's easier to tape the cable out of way when it's free.
 |
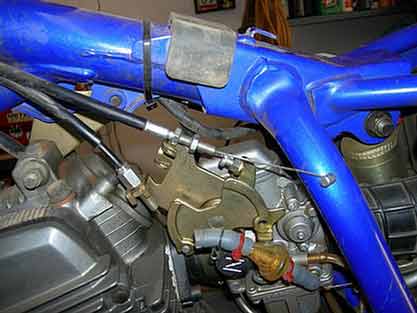
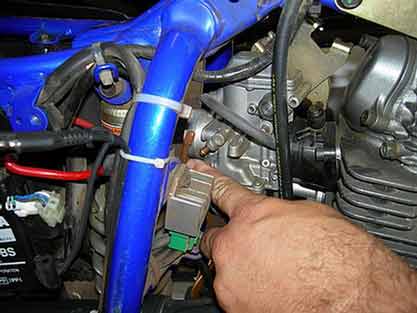
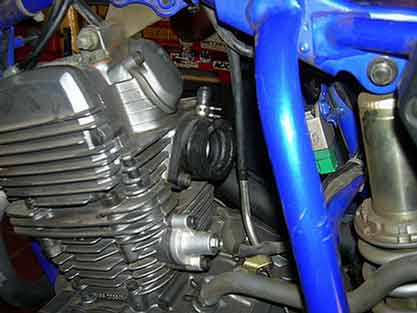
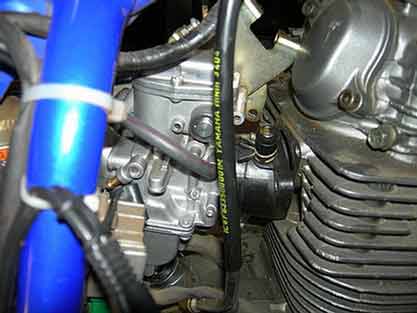
Take the front hose clamp off the carb.
 |
Then remove the rear hose clamp from the carb.
 |
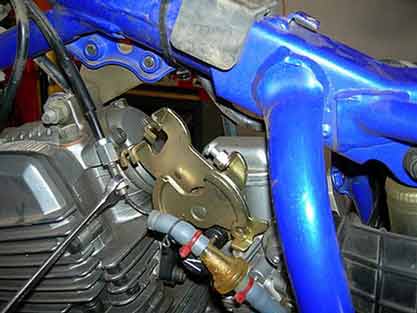
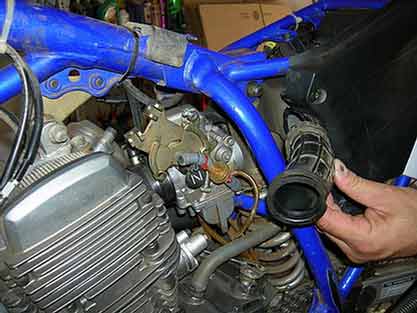
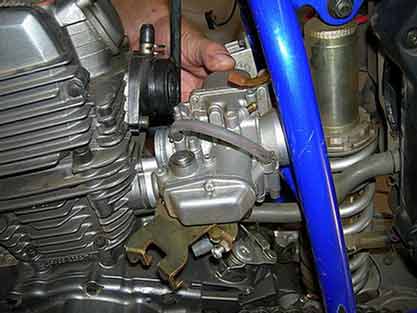
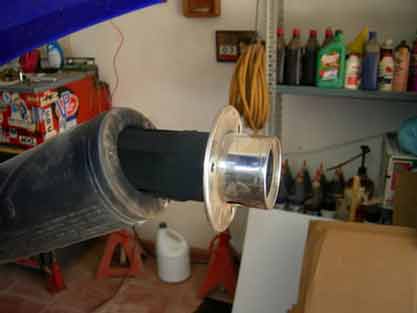
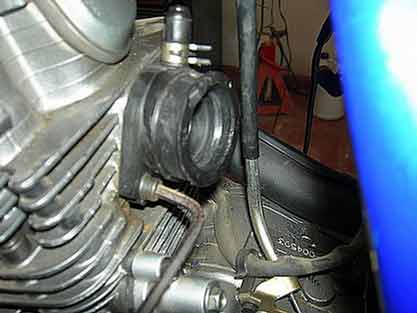
Removing the carb can be a real hassle, but is a lot easier when the rubber boot to the filter is removed first.
 |
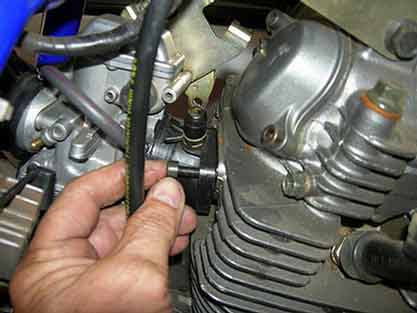
You can now remove the vent hoses.
 |
Front vent hose removed.
 |
Now you can take the carb out.
 |
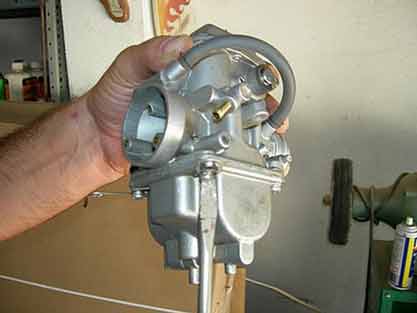
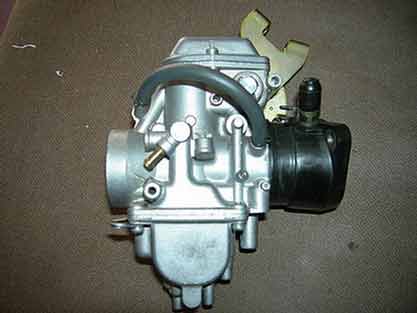
Here it is, free from the clutches of the Yamaha.
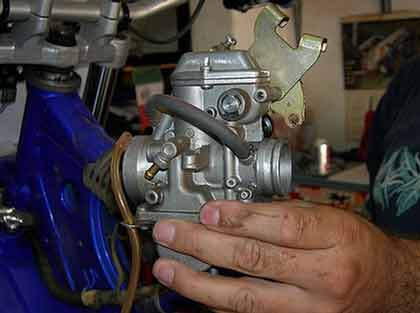 |
Carb out.
 |
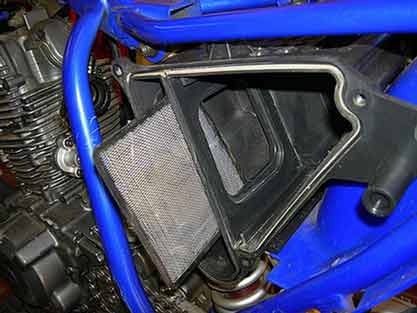
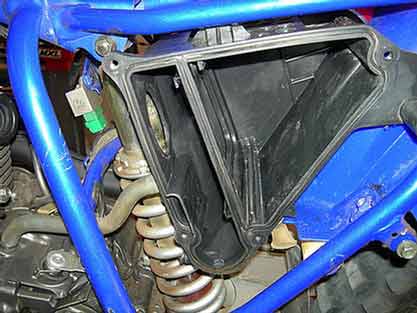
To get to the air filter, the side cover must be removed.
 |
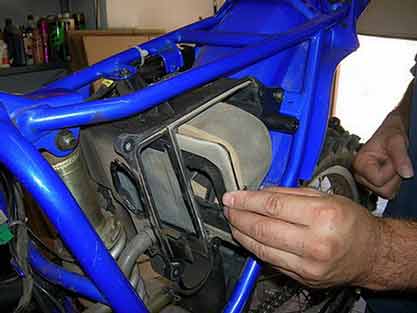
Air filter exposed.
 |
The air filter can easily be slid out.
 |
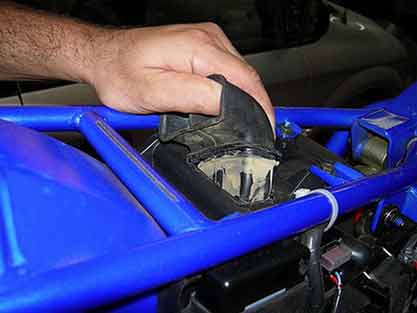
While you're in the area, take the snorkel off the top of the air box and feed it to the dog.
 |
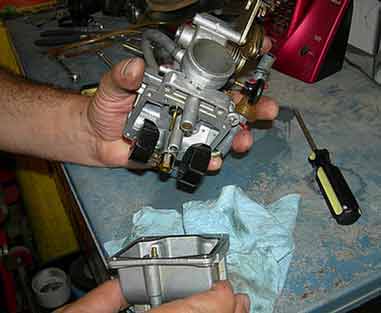
With the carb removed, the float bowl is taken off and the stock main jet and pilot jet get replaced with the new brass. Stock, the main jet is a 125. This must be replaced with a #130 main. The number is Yamaha part no. 288143436500 or Mikuni part no. KN102221130.
Remove the four screws that hold the float bowl in place.
 |
Float bowl off.
 |
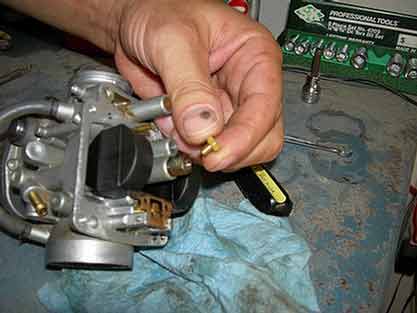
The stock main jet can now be removed.
 |
This is a TK carb, but takes certain Mikuni jets.
 |
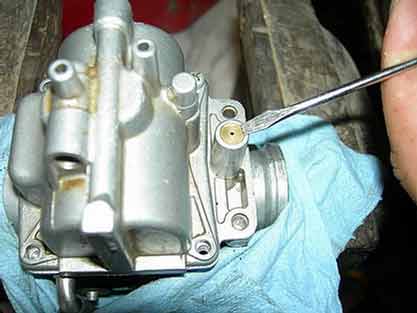
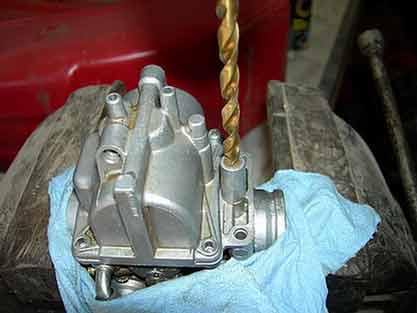
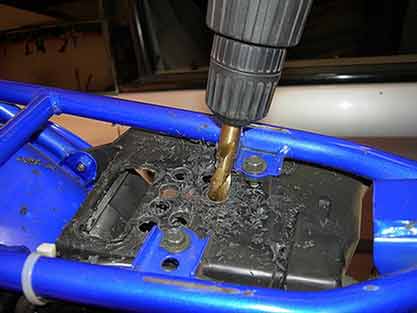
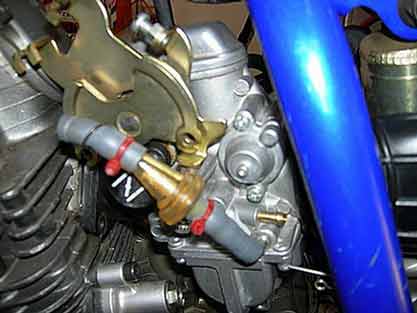
Now comes the tricky part: There’s a brass plug on the bottom of the carb (near the inlet) that must be drilled out get to the adjuster buried under there. The brass plug is there to keep you from fiddling with the jetting, courtesy of the government of California. Since the bikes are all made in Brazil to California specs, all of them are made this way.
We drilled the brass plug out carefully with a ½ inch drill bit, using ultra-light pressure, until the plug popped out and wrapped around the drill bit. After blowing the chips out, the adjuster was easily reachable with a small straight slot screwdriver. Bottom the adjuster out, the back off one full turn.
Before we proceed, this brass plug must be drilled out.
 |
We used a fresh one-quarter inch drill bit and drilled very gently with light pressure.
 |
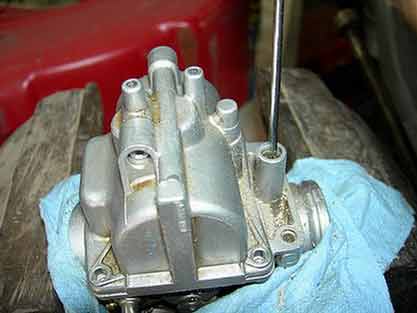
Blow the hole free of chips. This controls the fuel flow.
 |
Using a straight slot screwdriver, bottom the adjuster out, then back off one full turn.
 |
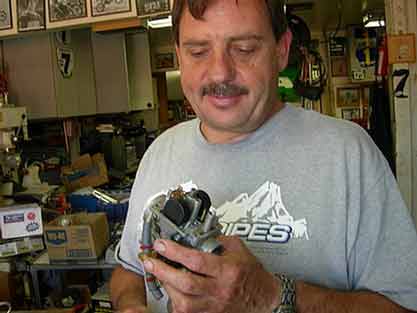
Keith Lynas, the OSSA guru, helped us with the carb.
 |
Keith popped out the stock main jet, and slipped in the new 130 main.
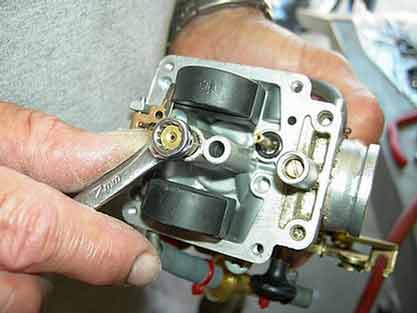 |
The stock #36 pilot was removed and Keith installed a #38.
 |
For the pilot jet, the stocker is a #36. You should replace this with a #38 pilot. The Yamaha part no. is 43f-14342-19.
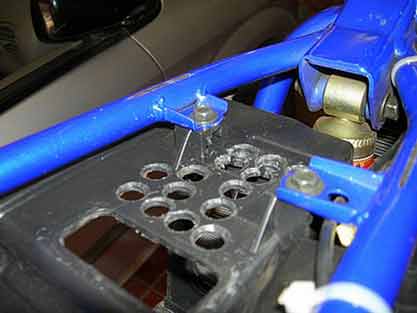
Put everything back together and then turn your attention to the airbox. I drilled a bunch of ½ inch holes in the top of the box after removing the restrictive snorkel.
We chose to drill a bunch of half-inch holes in the top of the airbox, rather than cutting a single big hole. Your choice.
 |
Completed drill job.
 |
We chose to remove the backfire screen for maximum air flow.
 |
The screen just slides out.
 |
Empty airbox. Now's the time to clean it out properly.
 |
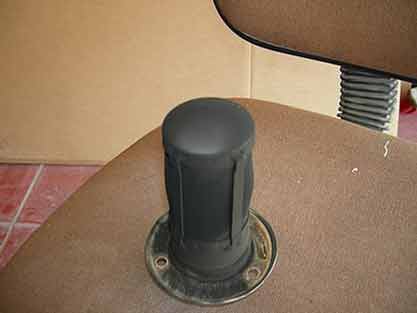
Then remove all the extra hardware from the stock muffler. I drilled five 3/8 inch holes in the spark arrestor. Of course, I ride in an area that doesn’t require an arrestor. Your area might be different.
You can remove the muffler insert with one bolt.
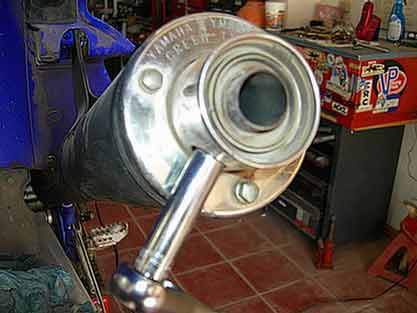 |
The insert can now be removed.
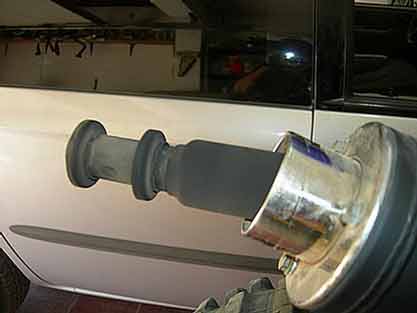 |
The end cap is held in place by three small bolts.
 |
End cap removed.
 |
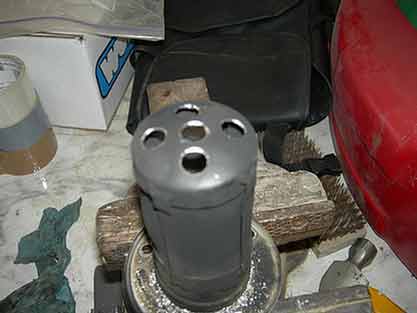
This is the spark arrestor. If you ride in a restricted area, leave it alone. I live in Baja and modified it.
 |
I drilled 5 three-eighth holes in the base.
 |
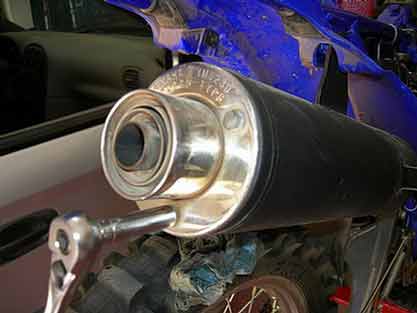
The end cap can now be replaced.
 |
Putting the carb back can be a real bear. To make the job easier, remove the intake first.
 |
The intake is installed on the carb first.
 |
Then the carb can be easily slipped in place.
 |
The bolts can now be tightened down.
 |
The rear boot can now be easily pulled over the back of the carb.
 |
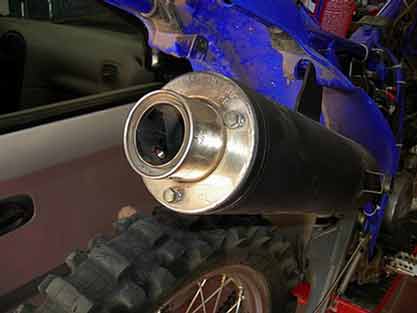
Finished job. Now button her up and take it for a ride.
 |
After buttoning everything up, I fired the Yamaha up. The bike started easily and I was able to take the choke off very soon during the warmup. The exhaust note was louder, but to my ears, not objectionably so.
Riding the Yamaha was a delightful experience! The bike had lots of low end power, a killer mid-range and it revved out nicely, too. All things considered, it felt more like a stock XR500 than a 230. Faster than the Honda 230? Yes. There was no hint of bogging, hesitation or backfiring. All told, a great powerplant.
Check back with us next time for more on Project TT230, only on Off-Road.com!
|
 Your Privacy Choices