Project Lowbucks: Our ‘78 YZ 250 Build Nears Completion

Nov. 13, 2014 By By Rick Sieman and Wes Holmes
Here’s the YZ250 on its way to becoming a real and functioning motorcycle.

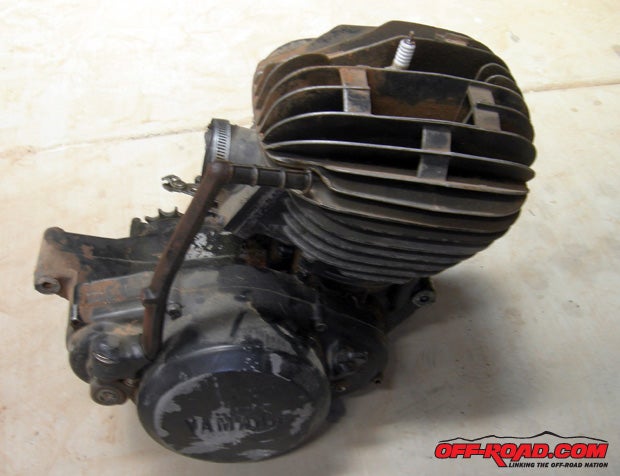
We’ve told you before and will say it again: This is the single dirtiest bike that we’ve ever worked on. And finally, we’re getting to the point where we were putting clean parts on other clean parts. It’s a good feeling.  Naturally, we had a bit more cleaning to do, but the nice thing was we could see that the end was in sight.

So kick back, grab a cold one and see some genuine progress on our Project Lowbucks 1978 YZ 250. The next time should be the final installation in our project.  With any luck at all, it should be ready to ride.

Previous Project Lowbucks Stories
Part 6: Paint, Plastic Restore and More

Part 5: Wheels, Triple Clamp Work

Part 4: Exhaust Pipe, Carburetor Work
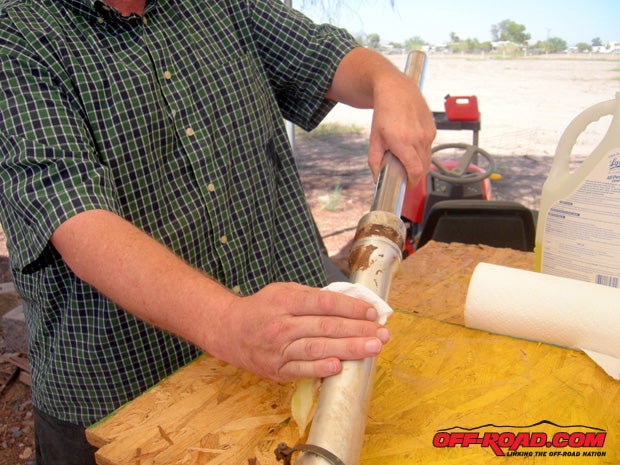
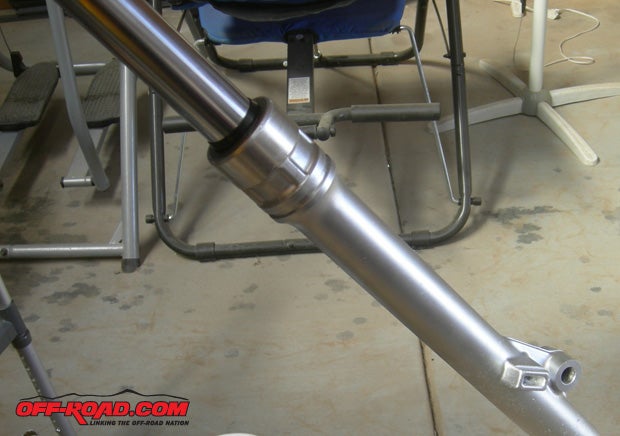
A bit of elbow grease was in order for the forks.

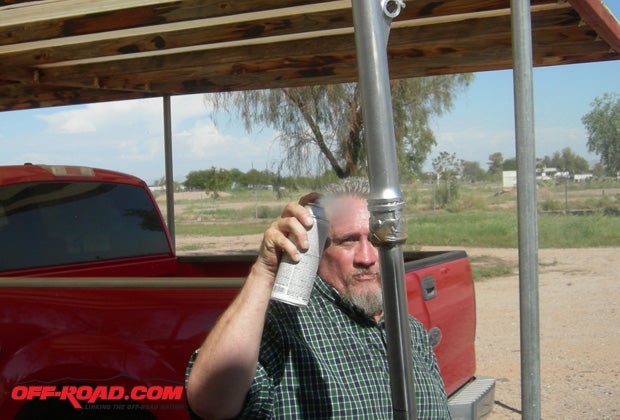
With the crud removed and a bath of contact cleaner on the parts, it was time to give it a decent aluminum paint spray.

Please note that we taped the fork seals and the fork tubes to keep from getting paint on them.

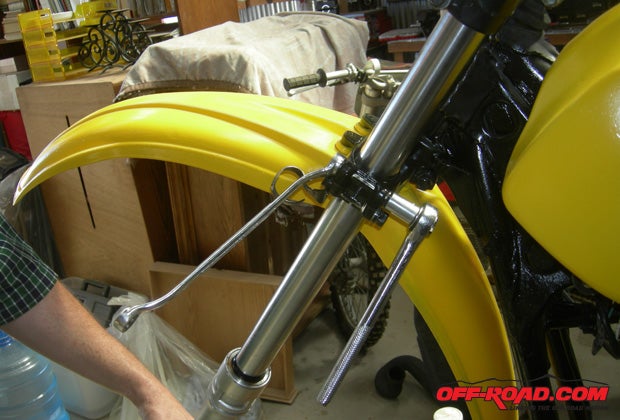
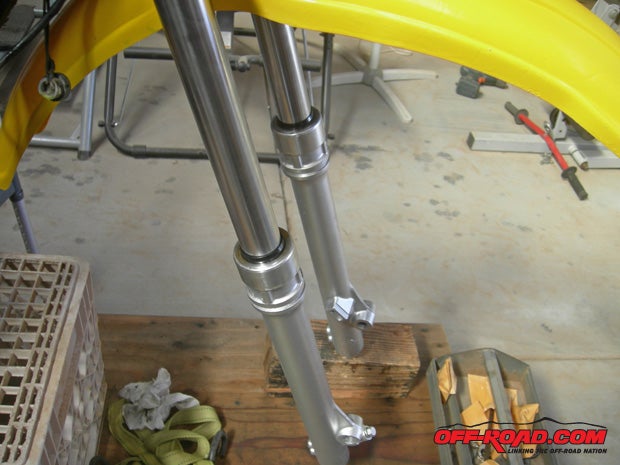
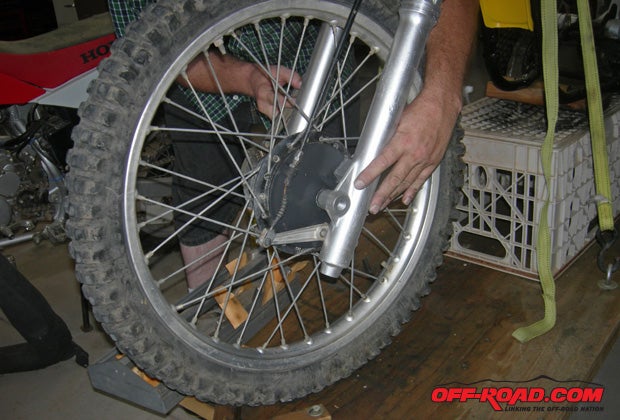
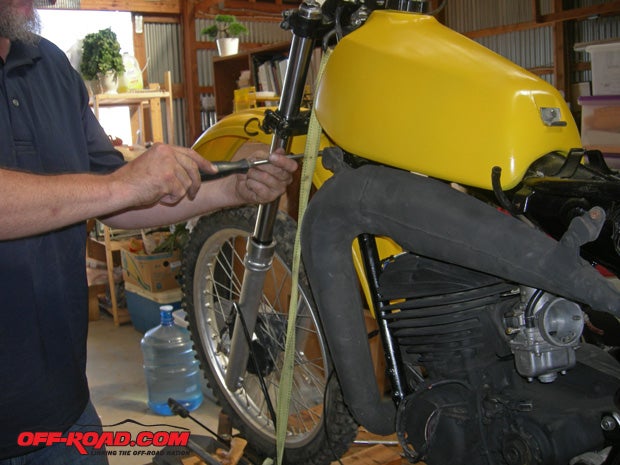
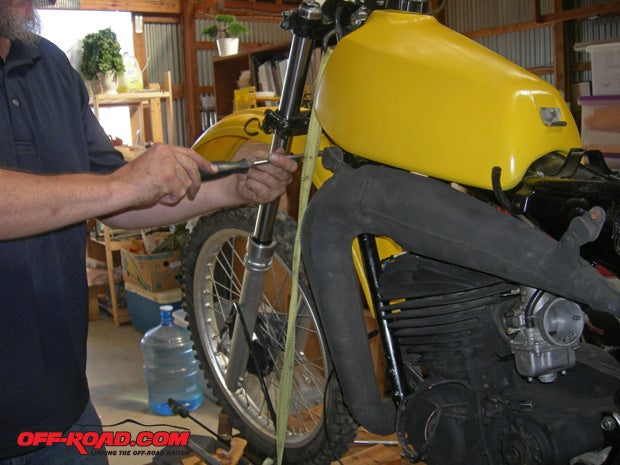
With the forks all properly prepped, it was time to slip them into the triple clamps. At this point, we never over tightened the nuts and bolts.

With both fork tubes in place we were able to rotate them in the triple clamps to get the proper alignment.

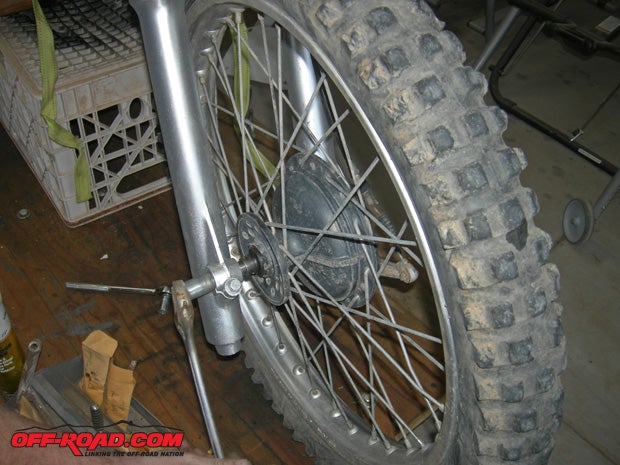
Next the front wheel was positioned properly and then the axle installed.

Take care when screwing the axle into place, as it is too easy to mess up the threads.

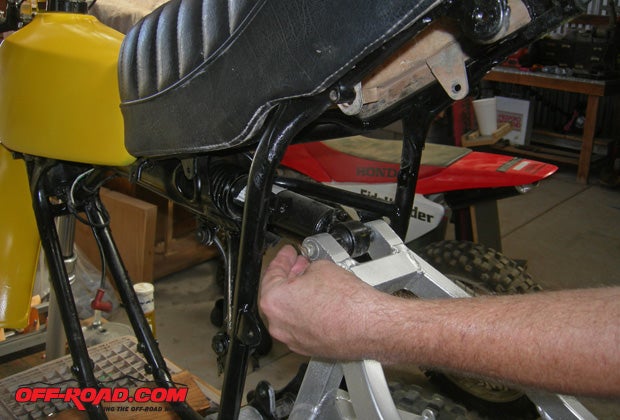
The pin for the swing arm got a very light coating of grease and then was gently tapped home.

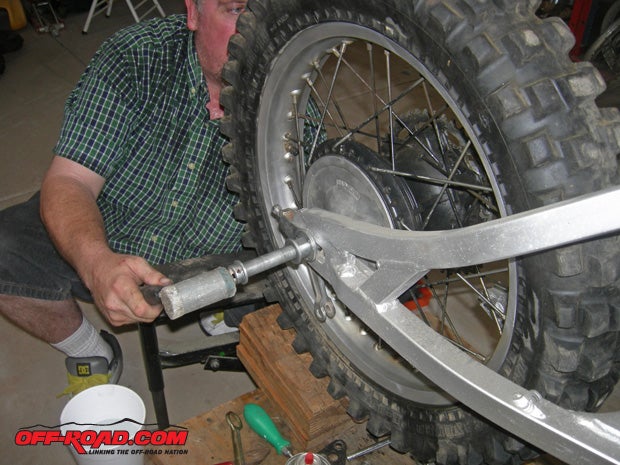
The rear wheel was installed, taking care to make sure all the spacers were in the right place.

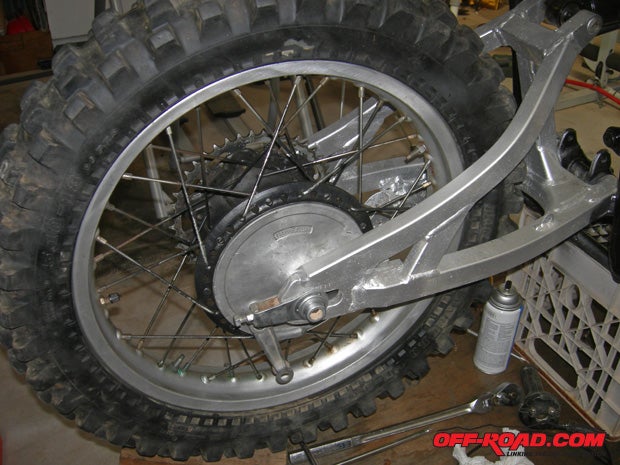
Completed rear end and ready to go.

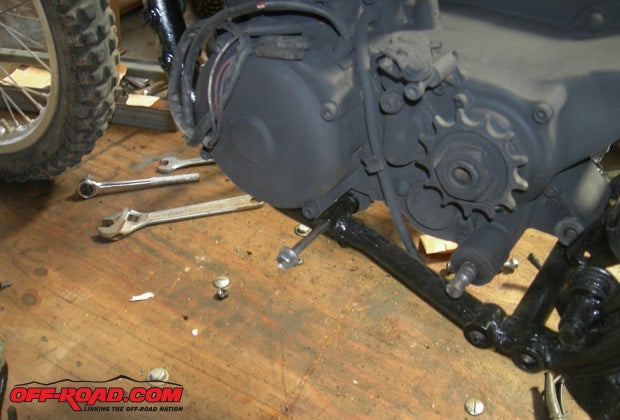
At this point, we were ready to get the motor cleaned up and mounted.

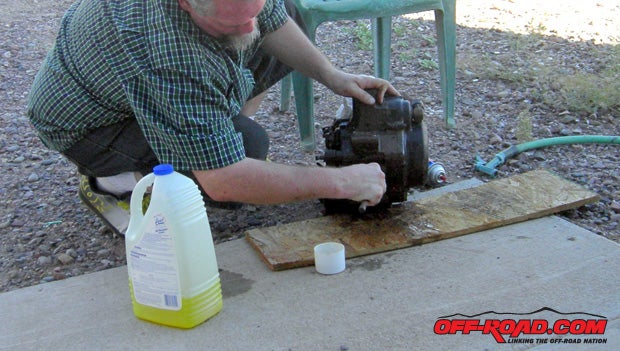
Since we had done most of the heavy cleaning on the motor in earlier stages, all we had to do was spray on a bit of Lysol and scrub away with a brush.

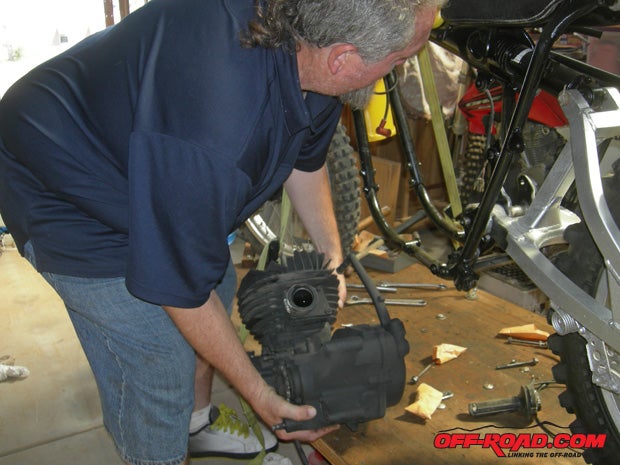
The compact motor was now ready for installation.

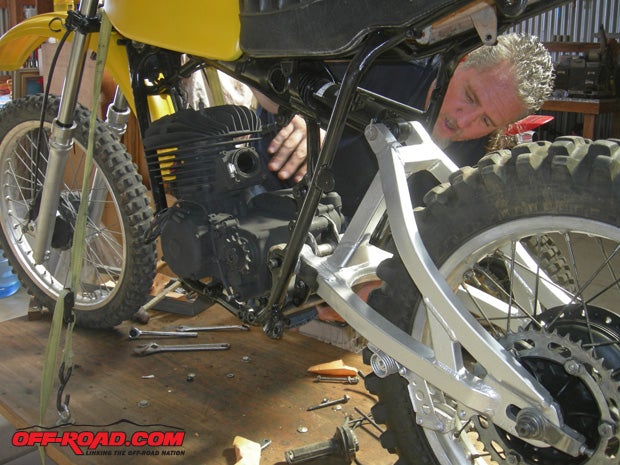
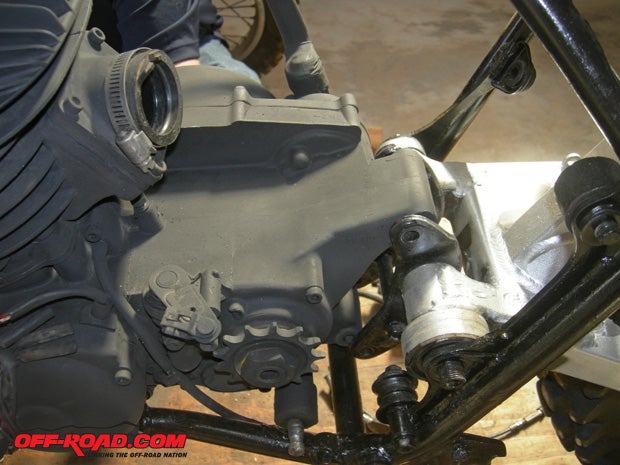
Take a bit of care when popping the motor into the frame. Line up the center bottom motor mount holes on the frame to make the rest of the job easy.

Once the center motor mount bolt is positioned properly, everything else falls into place.

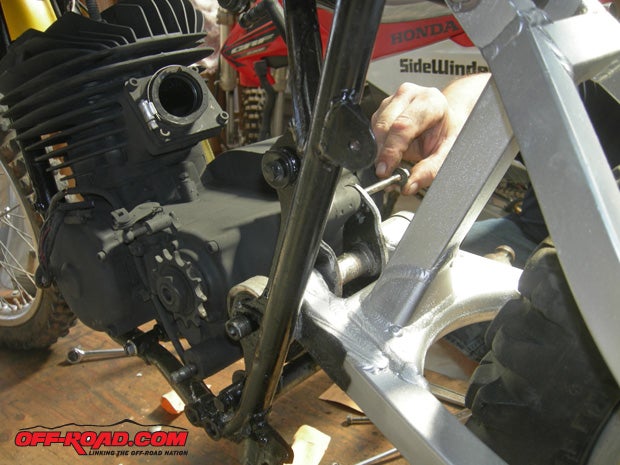
Next, the rear motor mount is ready to go.

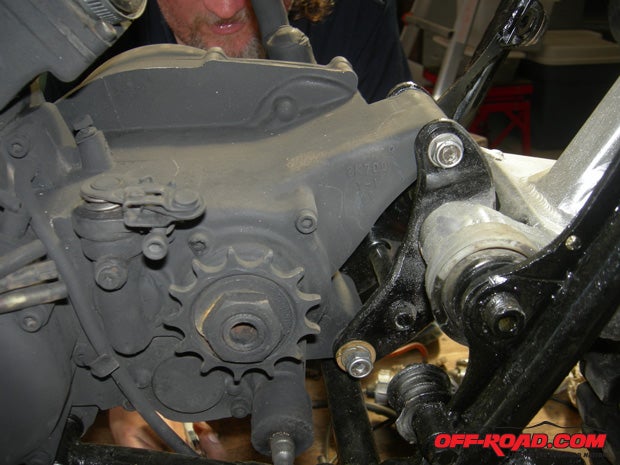
The bolt should easily slide in. If it’s not going in with little resistance, something is horribly out of line.

The rest of the motor mount bolts should fall right into place. Don’t tighten any bolts until all of them are installed.

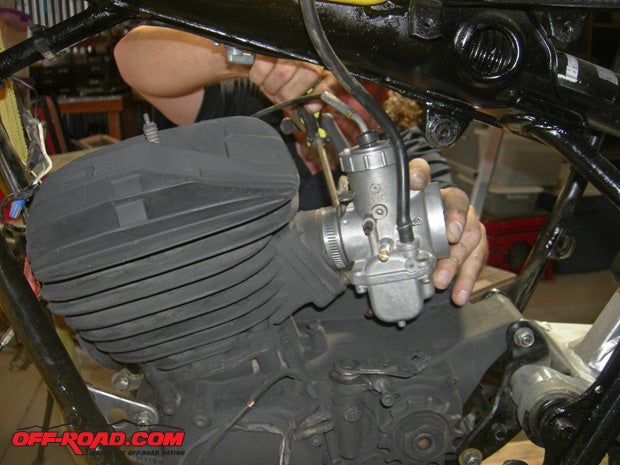
The carb can now be bolted into place.

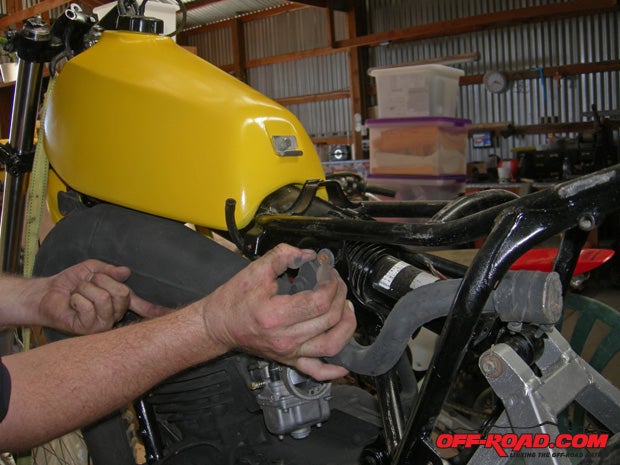
Now the pipe can find a permanent home.

The front bolt on the pipe can now be attached. Make sure that none of the bolts on the exhaust system are tightened until all are in place.

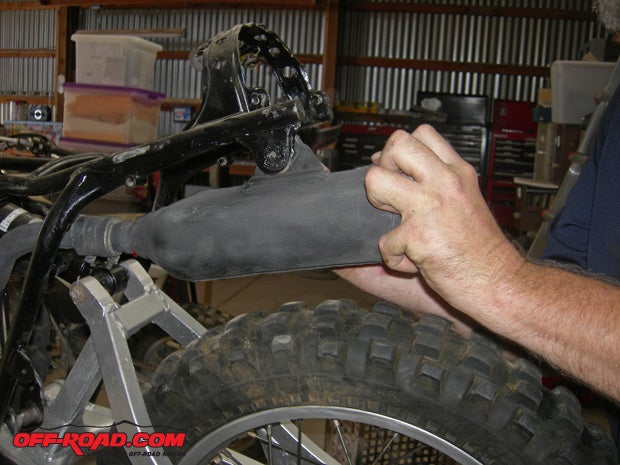
The muffler is the final part of exhaust system. Make sure that the packing inside is not all oiled up.

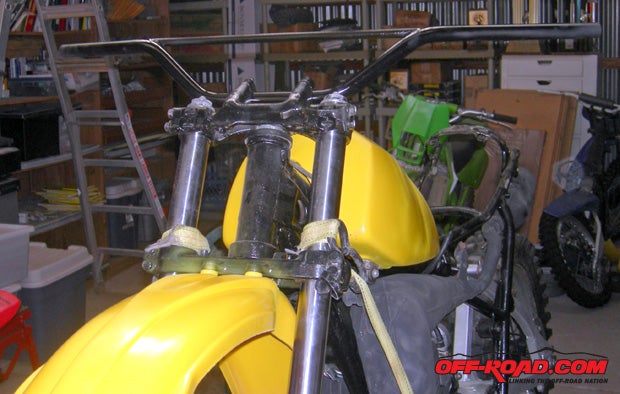
The bars can now be installed in the triple clamps.

Be sure to check back for our final story of the build next month … well, we think it’ll be the final one. Hopefully the bike is about ready to fire up.

Previous Project Lowbucks Stories
Part 6: Paint, Plastic Restore and More

Part 5: Wheels, Triple Clamp Work

Part 4: Exhaust Pipe, Carburetor Work
Off-Road.com Newsletter
Join our Weekly Newsletter to get the latest off-road news, reviews, events, and alerts!