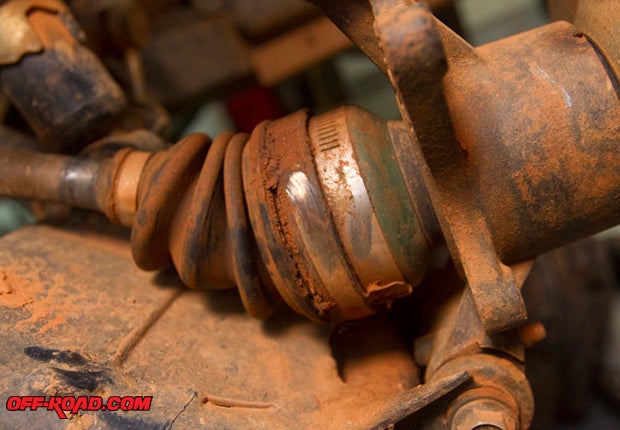
Riding the trails can sometimes be hazardous to your ATVís health. The rocks and tree limbs that seem to line the sides of many trail systems can pose a problem for the unsuspecting rider. Running over these trailside obstacles can damage small items such as CV axle boots that will eventually lead to bigger trouble if left unrepaired.
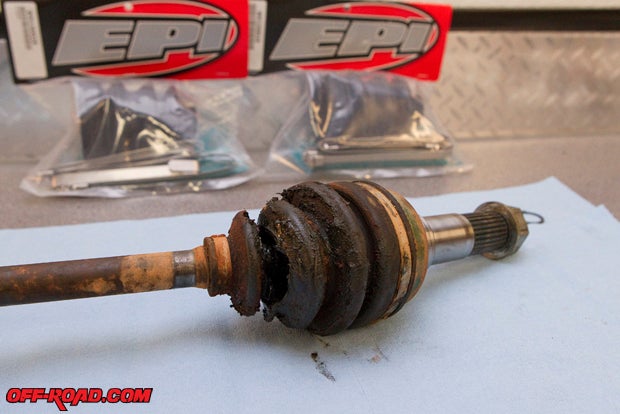
During a ride in our favorite riding spot we found this out first hand. After taking the limb to the front axle boot the front tire spit said limb and its attachments out into the rear axle and subsequently took out two CV boots at once. So with this opportunity we will show you how to change your CV boot as well as some proper tools to do so.
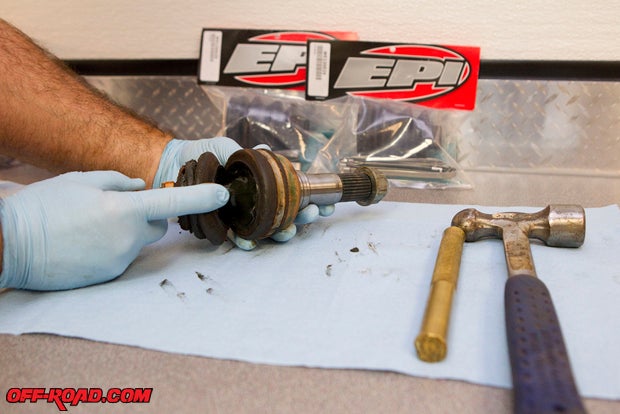
Some of the items you may need to change your CV boot will be:
1. Assortment of metric and standard wrenches for complete axle removal depending on what ATV you are working on.
2. Grease rags and plenty of them
3. CV clamp, banding tool
4. Portable Light
5. Center punch (if the axle has a stake nut on the hub)
6. Large Brass drift and 4 lb. sledgehammer or dead blow hammer
7. Ball joint separator (For front-end axles)
8. Large vise preferred but this can be done without it
9. Brake parts cleaner
10. Saftey goggles and rubber gloves
11. Razor knife
12. EPI CV boot replacement kit
13. Grease gun and adaptor
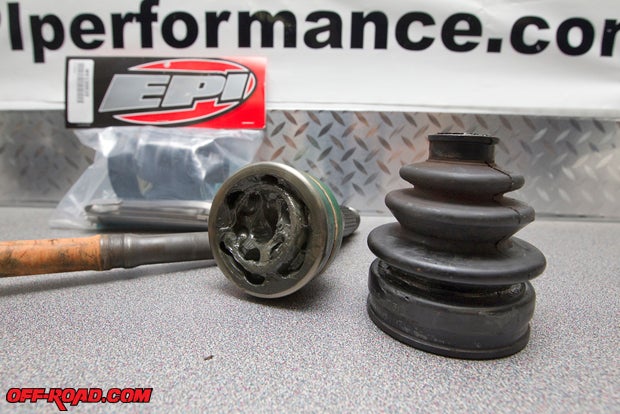 Getting the axle out of the ATV or side-by-side you are working on will be the toughest part of this boot change. Using your service manual to guide you the removal of the axle shouldnít be extremely difficult. The 2006 Yamaha Rhino we are working on has a left front CV boot torn as well as a left rear CV boot needing replacement, so a wide assortment of tools was necessary.
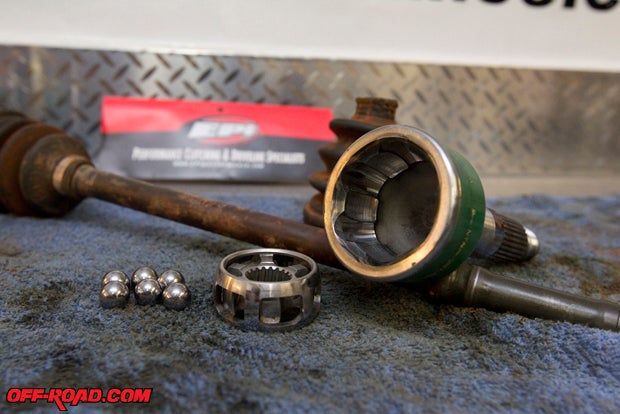
Be sure to clean off a nice area on the workbench or shop floor to get this job completed. After you have the axle in hand its all down hill from there. I typically leave the axle boot and clamp on the outer cup until I get these two separated from the axle shaft. This gives me a nice rubber bumper between my hammer and the surface of the axle housing.
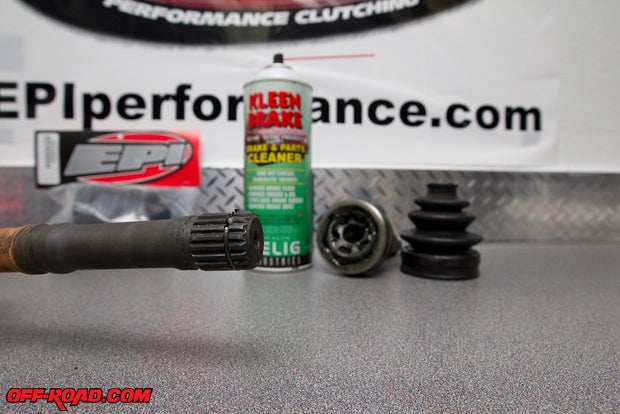
Using my trusty hammer, I hold the axle vertical then hit the housing a few good times and the housing will pop off the axle shaft. Be sure to reinstall the axle nut on the housing so you do not damage the threads on the housing if it should hit the floor after it leaves the axle. The housing is held onto the end of the axle shaft on most ATV and side-by-side outer joints by a spring circlip and is not extremely difficult to remove. Ideally you would want to put the axle into a vise for this, but as luck would have it there wasnít a vise available at the time of our CV Boot change.
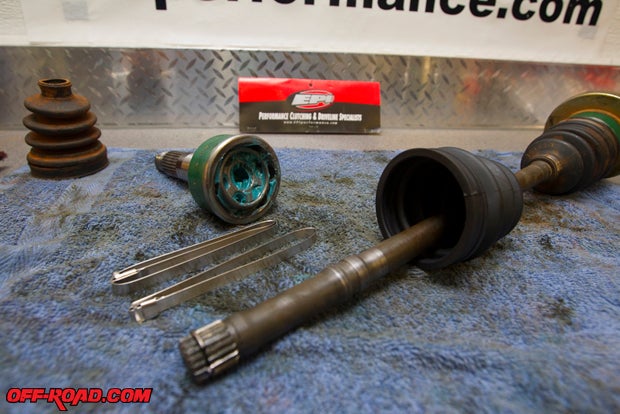
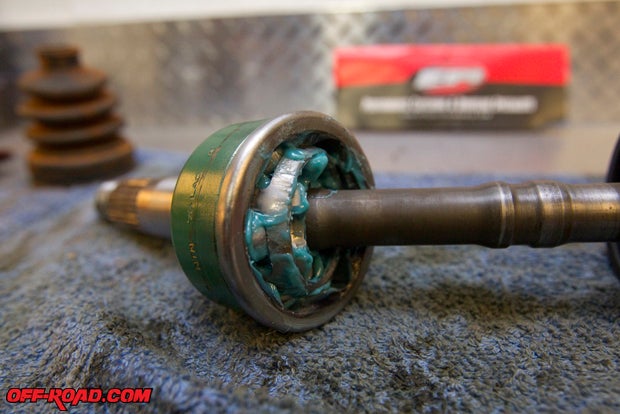
Taking a pair of side cutters or even a flathead screwdriver, you cut off or pry up the old clamp off the boot and remove the remaining boot pieces. Now youíre ready to get a roll of grease rags and start cleaning out the old grease as well as any dirt or debris that might have gotten into the cage, race and bearings. This is where youíll need a good pair of safety glasses and either a large can of brake parts cleaner or an actual parts cleaner cabinet to be sure you get all the old grease and debris out of the housing. Removing the cage and race isnít difficult but is not necessary as the cage and race will spin freely around in the housing after the axle is removed. Remember to always position the race with the tapered splines up in the cage so the axle will go back in correctly.
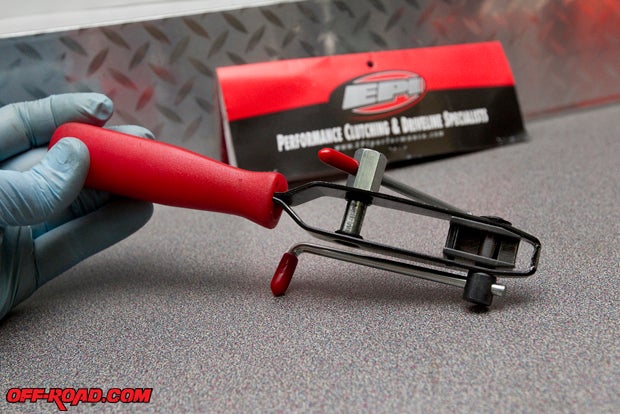
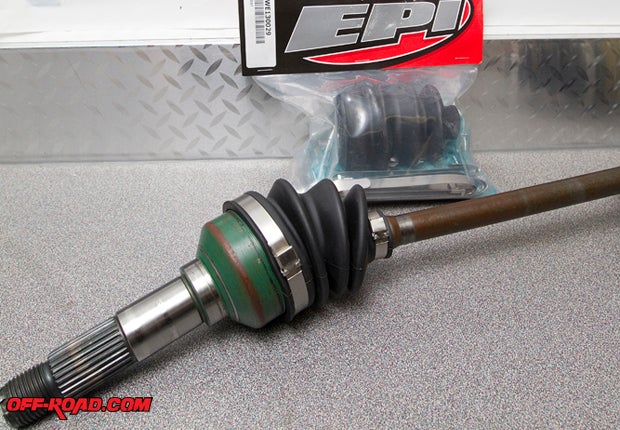
EPI (a.k.a. Erlandson Performance), is a trusted name in the ATV industry so it was a no brainer when I needed good quality boots to repair my ride. The EPI CV Boot kit includes a new boot, a moly-based grease pack and the clamps needed to make the job complete. The crew at EPI even has a tool selection just for changing CV boots as well. We opted for the non-ratcheting banding tool. Itís a great tool to have and worked very well.
After the cage, race and housing were cleaned very thoroughly, I repacked the housing with the grease packet that was supplied in my EPI boot kit. Squeezing grease down into the splined hole where the axle sits assures that there is adequate grease in the joint. The cage will rotate and adding grease on each side while rotating the housing should work it into the joint very well.
Then I turned my attention to the axle and outer lip of the housing. On the outer part of the housing ,as well as the axle where the boot will sit, I used a mild Scotchbrite pad to clean off anything that could prevent the boot from sitting down and sealing properly. This isnít always needed but why not, right?
Now itís time to slip the new boot up onto the axle out of our way, so we can get the axle back into its home in the housing. Getting the axle back into the race and housing can be tricky, so remember to be patient and be sure to not pinch the circlip when reinstalling the axle. I placed the axle housing between my legs, aligned the axle splines and used a flathead screwdriver to push against and around the circlip while I pushed the axle down into the housing. Again, this is much easier with a nice large vise.
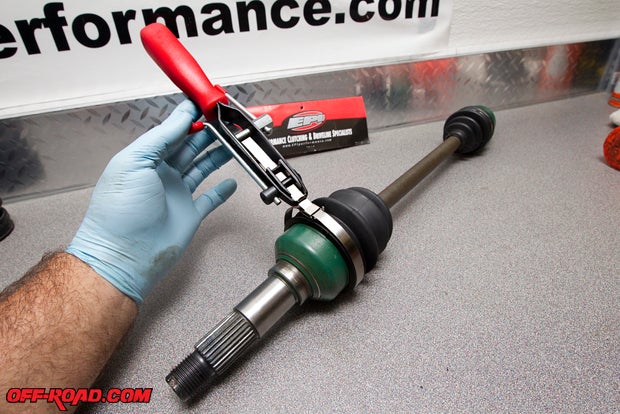
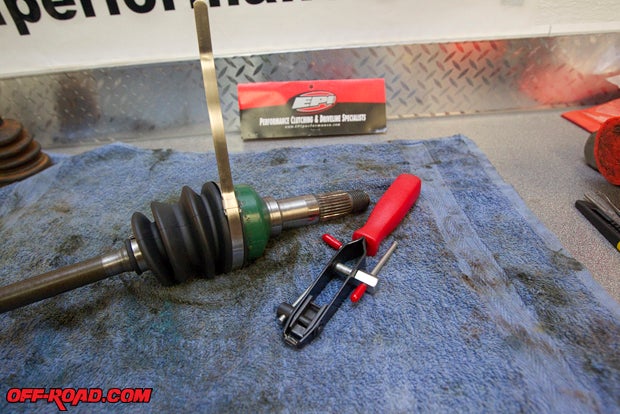
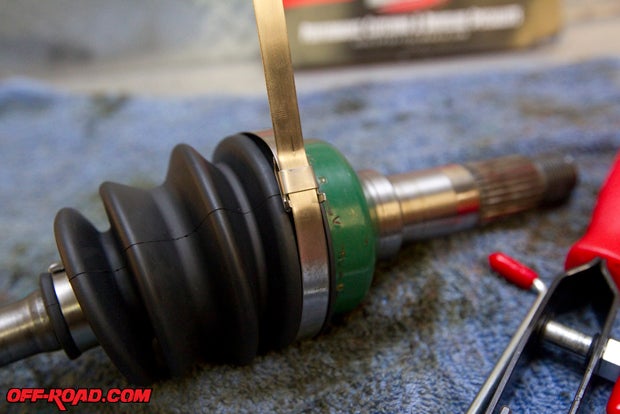
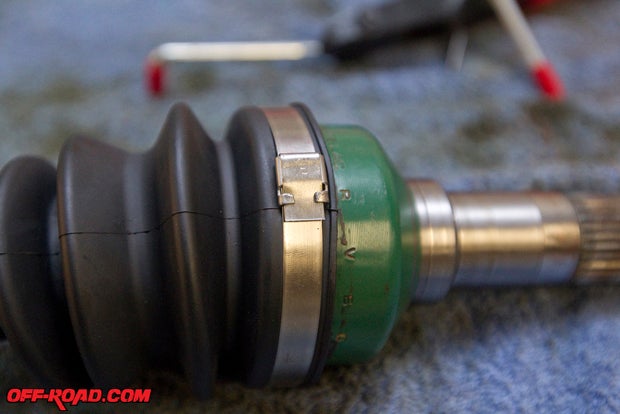
Weíre almost finished so hang on! With the remaining grease from the pack squeezed out onto the top of the axle housing, I make sure the contact area for the large end of the boot is clean and then I slip it over the housing. Using the bands included in our EPI kit, I slipped the bigger of the two around the housing and over the new boot. The clamp works by slipping the plain flat end through the clamp slot then cinching down and folding back over itself. Remember to not over-tighten the boot clamp as it can cut through the boot and create unwanted frustration later on. There are two small prongs sticking up that will be bent over the folded end to keep it in place. This is made easy with the banding tool to help tighten the band and then the excess band will be cut off with the cutter on the banding tool. The same process is repeated on the upper or smaller section of the boot and then the axle is ready to be reinstalled into the ATV or side-by-side.
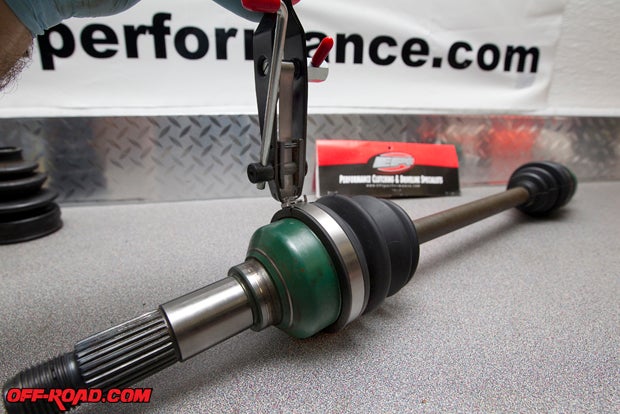
One small side note: I usually try to keep in mind the primary direction of travel for each axle when changing the boot and position the boot clamp so the cut end is facing rearward on the axle I am working on. This may be superstitious, but if a rock or branch catches the lip of the cut end facing forward it could dislodge the clamp and cause the boot to fall off.
And that is the skinny on replacing your CV boots. This takes a little practice and can be a bit involved but just take a deep breath, get after it and before you know it your buddies will be paying you to change theirs!!
RS
Parts Source:
EPI
8273 Industrial Park RD
Baxter MN 56425
www.EPIperformance.com
Main: 218-829-6036


 Your Privacy Choices